Watch: how it's done
How to Install Peel and Stick Tile Backsplash — embedded from YouTube
Peel & stick backsplash vs real tile vs paint. Compare costs, difficulty and durability for every kitchen backsplash option.
Why this pick: Same Home Depot mid-tier paint as bathrooms. For kitchens, the semi-gloss sheen wipes clean of cooking splatter without showing every fingerprint like gloss does.
Why this pick: Smart Tiles is the gel-finish leader. Their patented 3D gel face gives the most realistic tile look at the peel-and-stick price point, and the heat-resistance rating beats every competitor.
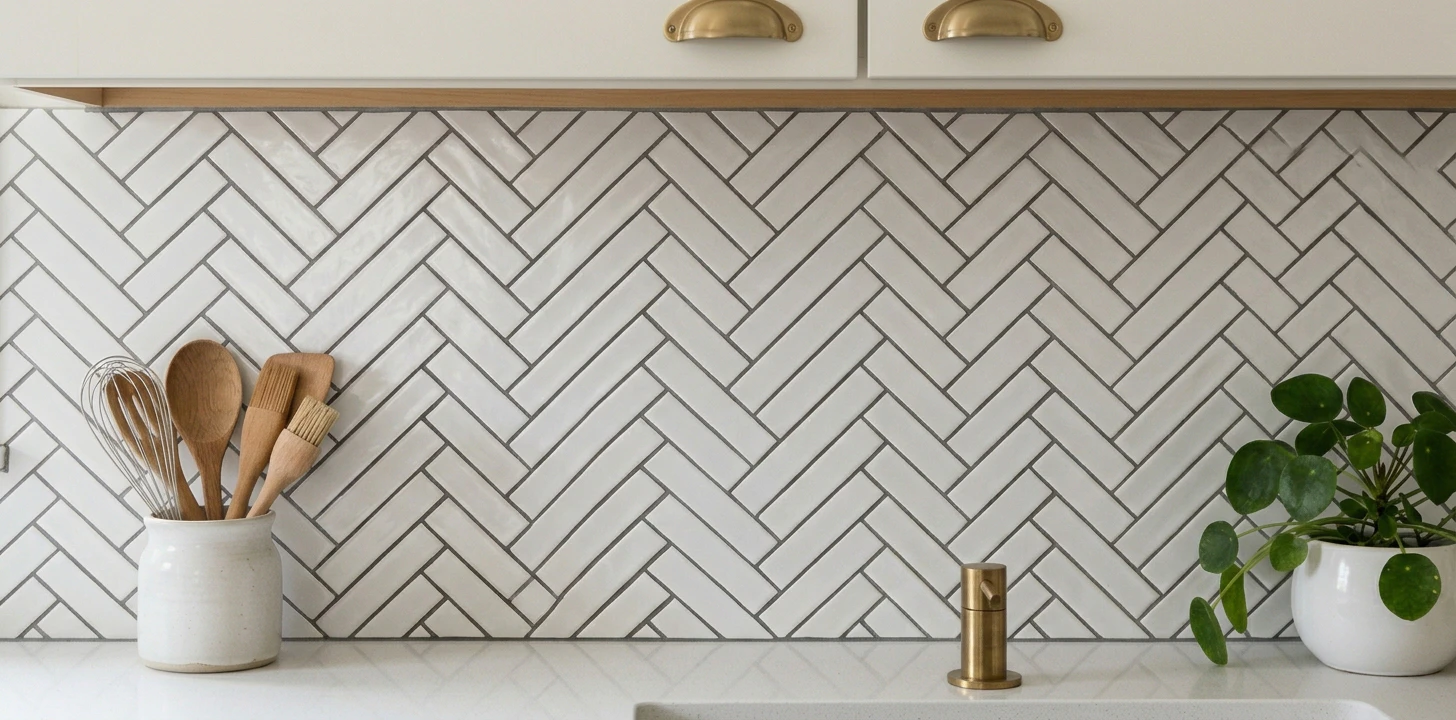
Why this pick: Merola's 3×6 white subway tile is the most common builder-grade option that doesn't look builder-grade. Consistent dimensions across boxes mean easier grout lines and faster install.
Prices verified June 2026 · US market · subject to change
How to Install Peel and Stick Tile Backsplash — embedded from YouTube
A kitchen backsplash is one of the fastest visual upgrades you can do — and the gap between the cheapest and the most expensive option is bigger than in any other room. For a typical 30 sq ft backsplash you're looking at $75 for a weekend's worth of peel-and-stick, or $200+ for real ceramic tile that needs grout and a wet saw. The right call depends mostly on whether you own and how much you cook.
The two backsplash finishes 90% of kitchen searches actually compare. If you're choosing between these two specifically, here's the short version before the full breakdown of all options below.
| Peel & stick | Real subway tile | |
|---|---|---|
| Cost (30 sq ft) | ~$130 | ~$250 + tools |
| Lifespan | 3–5 years | Decades |
| Install time | One afternoon | Two days |
| Removable? | Yes — renter-safe | No — permanent |
| Heat behind stove | Softens at 140°F | Heat-proof |
| Best for | Renters, low-cook kitchens | Owners staying 5+ yrs |
Pick peel-and-stick if you're renting or want it done this weekend for under $150. Pick real tile if you own, cook on a gas stove, or want resale-value signal. The hybrid approach — tile behind the stove, peel-and-stick everywhere else — wins for most owners on a budget.
Still deciding between these two? Read the full Peel & Stick vs Real Tile comparison → — heat problem in detail, install gotchas, the hybrid approach explained, and 6 FAQs specific to this pair.
Every peel-and-stick backsplash has the same weak spot: heat. Most adhesives soften above 140°F, and a high-output gas burner with a short range hood can easily push the wall behind it past that. Result: edges lift, panels sag, and within a year you've got a mess. Two fixes:
The Smart Tiles and Stick-On generation of products from 2020 onward are dramatically better than the early peel-and-stick "vinyl decals" from a decade ago. The gel-finish ones have real depth and look like ceramic from 3 feet away. Expect $4–5 per sq ft, a half-day install, and 3–5 years of life if you keep them away from heat.
Classic 3×6 white subway tile from Daltile or MSI costs $4–6 per sq ft, plus another $40 in thinset, grout, spacers, and a $50 weekend rental on a wet saw. It's a real two-day project, but the result is permanent, heat-proof, and adds resale value. Owners staying 5+ years: this is the right choice.
Fasade's thermoplastic backsplash panels (24×18 inches) install with adhesive in big sheets, look surprisingly metal-like, and skip grout entirely. Easier than real tile, more upmarket than peel-and-stick, but limited in color and texture. Good if you're going for a specific industrial or art-deco aesthetic.
Measure the linear feet of countertop the backsplash will cover, then multiply by the height (usually 18 inches from countertop to upper cabinet). For a 10-foot run: 10 × 1.5 = 15 sq ft. Add a 10% waste factor for cuts around outlets and corners.
It can soften, especially on a gas range with a short hood. The danger zone is the area directly behind the burners — usually a 24-inch tall strip. Three ways to handle it — install a stainless steel splash guard for that zone, do real tile only behind the burners, or move the peel-and-stick start line above the burner zone if your hood placement allows. Smart Tiles' newer Crystiles line is rated to 175°F and holds up better than older versions.
Turn the power off at the breaker, unscrew the outlet face plate, then trace the box opening onto the back of the tile with a pencil. Cut with a sharp utility knife or kitchen shears — score deeply first, then fold and snap. Reinstall the face plate over the tile edges. The face plate hides any cuts that aren't perfectly straight, which is most of them.
Not well. Adhesive needs a smooth, clean surface to bond properly. Light orange peel texture is borderline — you might get 1–2 years before edges lift. Heavy knockdown or popcorn texture is a hard no — skim-coat the wall first with joint compound, sand smooth, prime, then install. That extra prep takes a day but easily triples the lifespan.
Usually yes — vinyl peel-and-stick comes off with a hair dryer to soften the adhesive, then peels in long strips. Some glue residue is normal; remove it with Goo Gone or rubbing alcohol. The exception is wallpapered or unprimed drywall — the adhesive bonds to the paper face of the drywall and can tear it on removal. Always install over painted, primed walls.
For a first-timer, plan two full days — one to lay tile and let thinset cure, one to grout, seal and clean up. Pros do it in a single 6–8 hour stretch. Tool rentals (wet saw, tile spacers, grout float, sponge buckets) run about $50 for a weekend. The skill-limiting step is cutting around outlets and corners — practice on scrap tiles first.
New comparisons, renter hacks and Amazon finds — every Sunday.