The kitchen-refresh budget
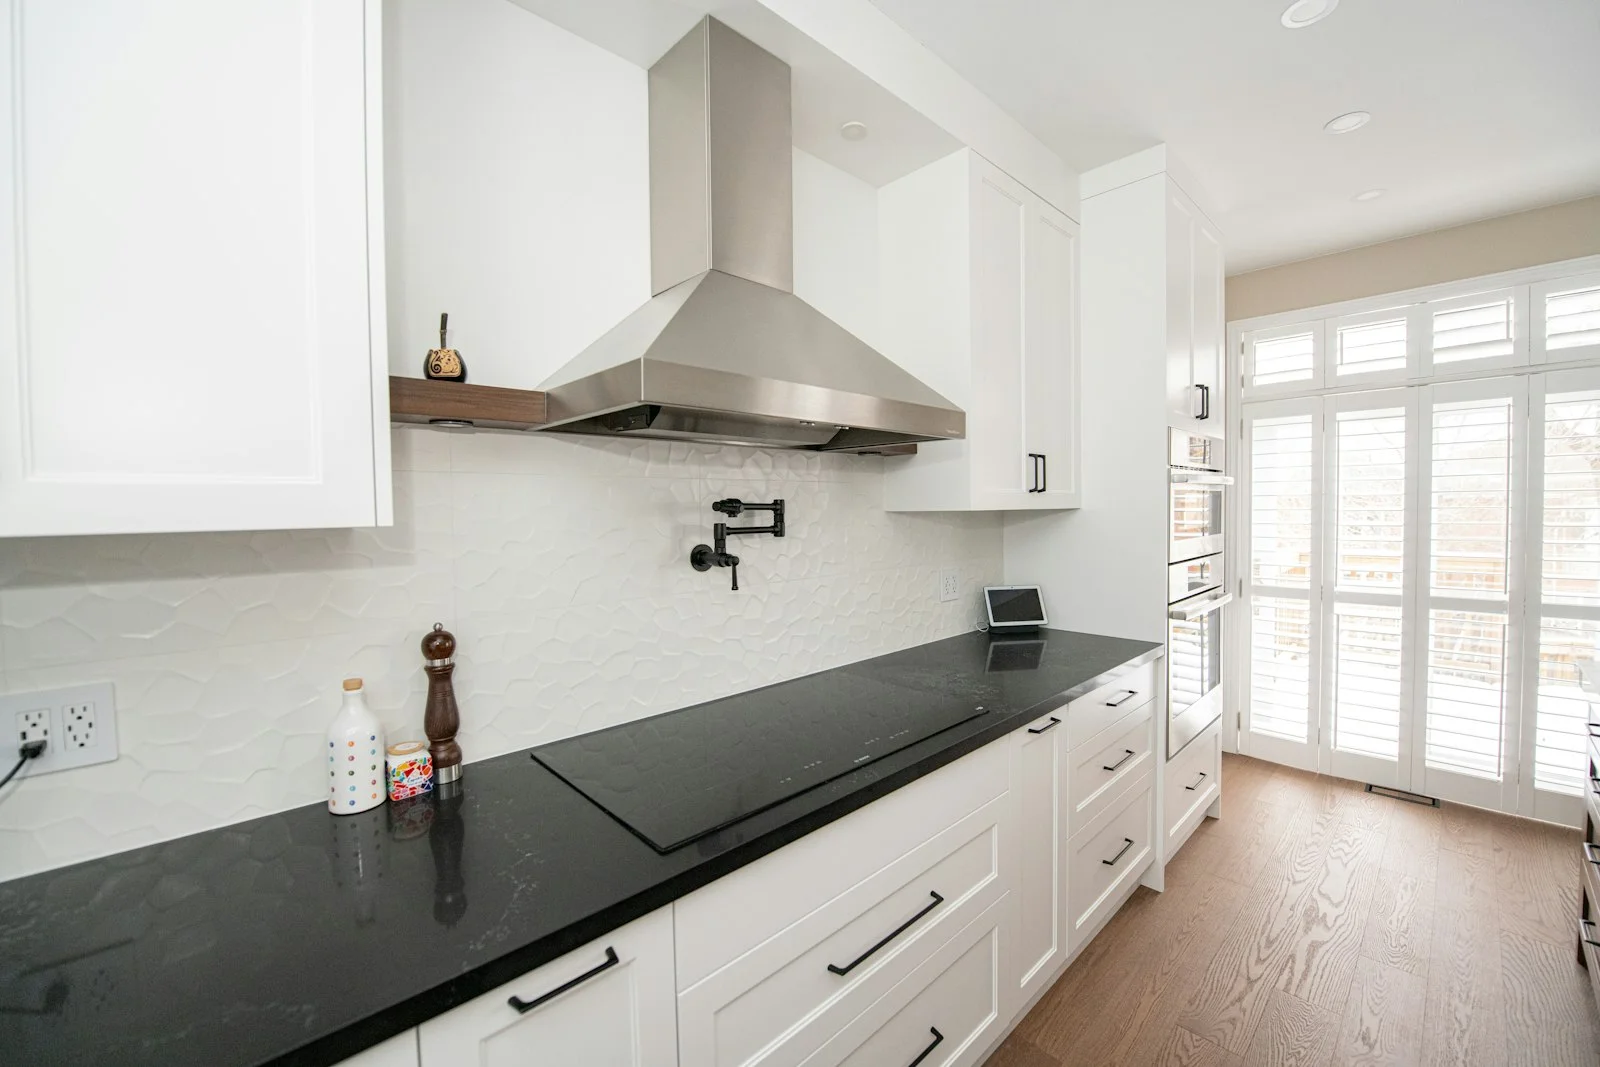
A 100 sq ft kitchen with a 30 sq ft backsplash and basic cabinet boxes can be transformed for $245 in materials — peel-and-stick floor, peel-and-stick backsplash, contact paper wrap on cabinets, plus new hardware. That's a Saturday-and-Sunday renter project. The high end with click-lock LVP, real subway tile, and a Rust-Oleum cabinet paint kit lands around $480 — still under what a single contractor visit would cost.
The biggest visual ROI moves
Of the three kitchen surfaces, the order of visual impact per dollar is — cabinets first, backsplash second, floor third. New cabinet color (paint kit or contact paper) is what most people notice when they walk in. The backsplash is a close second because it sits at eye level. The floor matters most for daily comfort but registers less in photos. If budget is tight, do cabinets first and floor last.
Hardware is the cheat code
$30 of new cabinet pulls and knobs is the single highest-impact hour you can spend in a kitchen. New matte black or brushed brass hardware on old cabinets visually upgrades the entire room — even without paint or contact paper. Amerock and Ravinte sell 25-packs on Amazon for $30–50. Do this even if you do nothing else.
What we don't recommend
- Hardwood floor in a kitchen with a dishwasher. When it leaks (not if), you're replacing the whole floor.
- Peel & stick backsplash directly behind a gas burner. Adhesive softens above 140°F.
- Painting cabinets without prep. The single most common reason DIY paint jobs fail is skipping the cleaning step.
Do the work in this order
Kitchens punish the wrong sequence more than any other room. Cabinets first — paint drips and contact-paper trimming happen over the old floor, where they don't matter. Backsplash second, while the counters are already cleared for cabinet work. Floor last, so ladders, primer cans and knee-work never touch the new surface. There's a structural reason for floor-last too: click-lock LVP is a floating floor, and a floating floor pinned under cabinet boxes buckles at the first seasonal expansion — the planks must be cut around cabinets, never installed under them. The full explanation is in our 7 vinyl plank mistakes guide; it's the most expensive error on that list because it gets discovered after the kitchen is finished.
Where to go deeper
Every kitchen surface here has a full head-to-head with real prices. For floors, the two big calls are vinyl plank vs hardwood (budget-vs-forever) and LVP vs porcelain tile (standing-cook comfort vs permanence). For the backsplash, peel-and-stick vs real tile settles the weekend-vs-wet-saw question. For cabinets, paint vs contact paper covers the renter-vs-owner split. And once you've picked the material, our ranking of the best cheap and premium LVP flooring brands covers actual products from big-box budget to designer tier.