Updated June 2026. Prices reflect US market costs from Home Depot, Lowe's, Amazon and Wall Control direct. All comparisons based on a typical two-car garage with 200 sq ft of accessible wall surface (the wall area not blocked by garage door, side door, or windows).
Two very different garage problems
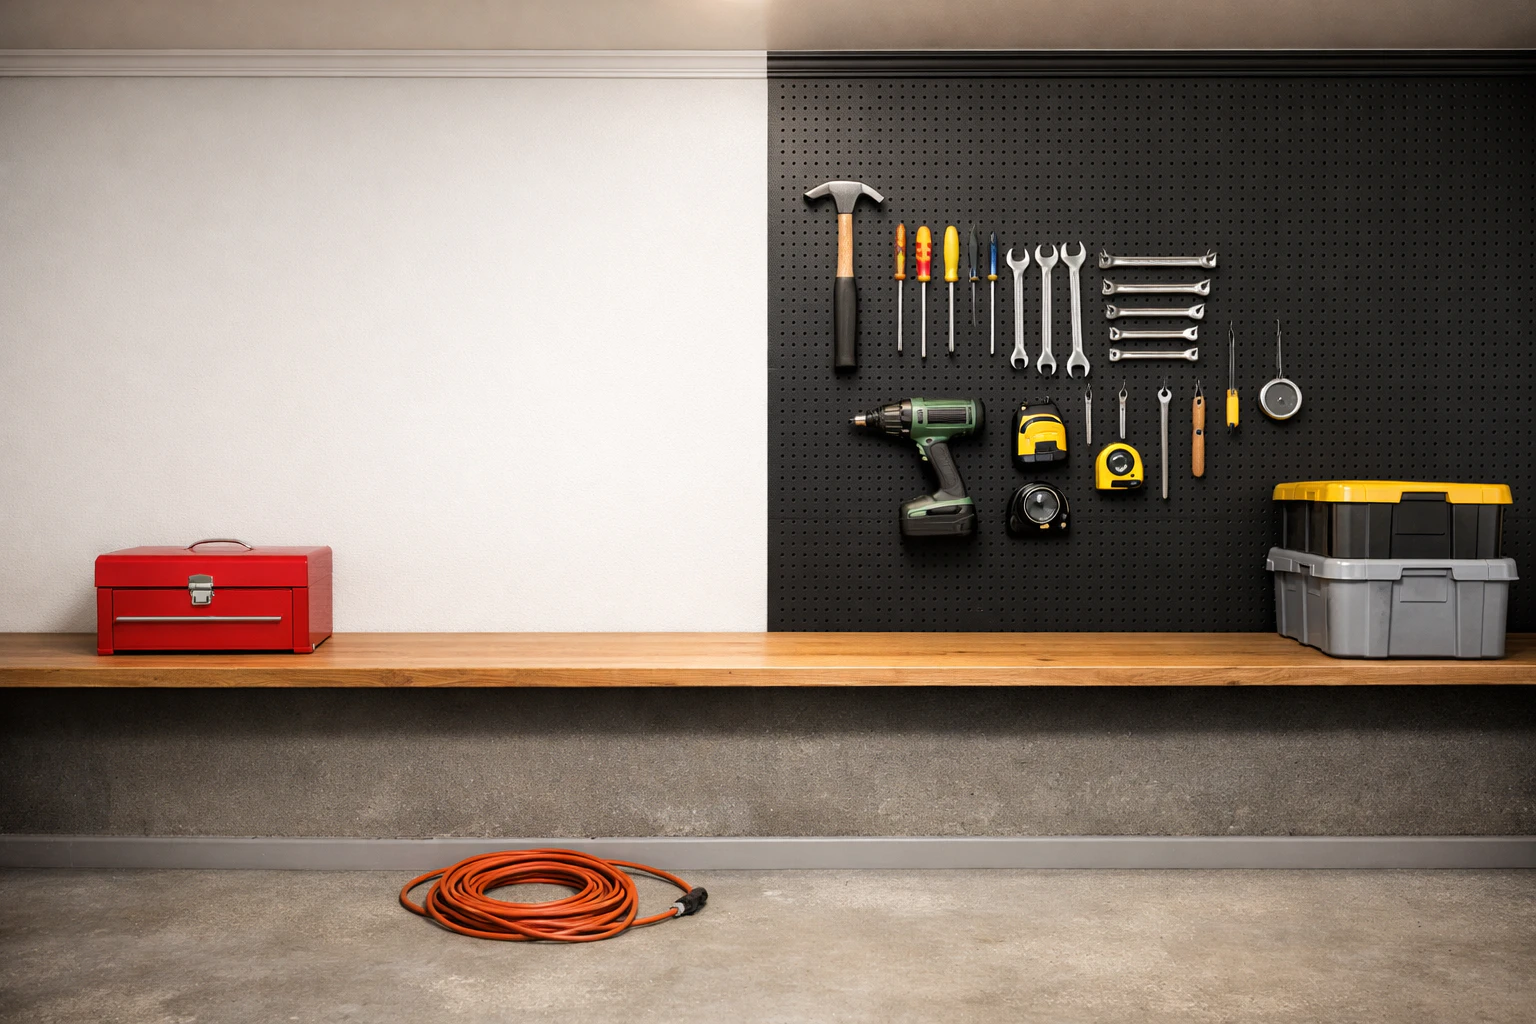
Painting garage walls and installing pegboard storage solve completely different problems — and most homeowners pick one when they actually need both. Painting solves the "the garage feels like a dark cave" problem: bare cinderblock or unfinished drywall absorbs roughly 80% of the limited overhead light, making even well-lit garages feel dim. Pegboard solves the "I can't park my car because the floor is covered in stuff" problem: getting tools, bikes, and supplies off the floor recovers 30-50 sq ft of usable parking and workspace.
The short version: painting at $40 in Drylok concrete sealer or quality drywall paint reflects 80% of light and makes the garage feel 30% brighter — but the floor stays covered in the same stuff. Pegboard at $80-160 in metal panels and hooks recovers 30-50 sq ft of floor space and turns the garage from "stuff dump" into "organized workshop" — but the walls behind the pegboard still read as bare cinderblock or unfinished drywall. The right answer for most garages is both, in a specific order, for under $250 total.
Below: side-by-side table, when each one is enough on its own, the floor-space-per-dollar math that makes pegboard cheaper than buying a bigger garage, the cinderblock-vs-drywall install difference that catches DIYers off guard, the paint-plus-pegboard hybrid pattern garage organization companies actually recommend, and FAQs.
Side-by-side comparison

| Painted walls (concrete sealer or drywall paint) | Metal pegboard storage system | |
|---|---|---|
| Cost (200 sq ft garage wall) | $30–50 (one gallon Drylok or quality paint) | $80–160 (2–3 metal panels + hooks) |
| Install time | 2–3 hours including 4-hour dry between coats | 30 min on drywall; 90 min on cinderblock |
| Brightness gain | +30% perceived (white reflects 80% vs bare 20%) | None — bare wall behind panels |
| Floor space recovery | None — floor stays as-is | 30–50 sq ft (tools/bikes off floor) |
| Tool storage capacity | Zero — wall stays empty | 40–150 items per 32×48 inch panel |
| Substrate compatibility | Cinderblock (with Drylok), drywall (any paint) | Drywall direct; cinderblock needs furring strips |
| Lifespan | 7–10 years with Drylok; 5–7 yrs drywall paint | 15+ years (metal pegboard doesn't fail) |
| Resale signal | "Finished garage" listing line | "Organized garage with storage" listing line |
| Renter-safe? | Yes — paint over on move-out | Yes — removes with screw extraction + drywall patch |
| Best for | Light-starved garages, small tool collections, aesthetic-first | Floor-blocked garages, 50+ tool collections, bike storage |
When painting alone is enough
Paint alone (no pegboard) is enough if at least three of these are true:
- Your tool collection is small (under 30 hand tools, no power tools to speak of)
- You have existing closed storage (cabinets, plastic bins, rolling tool chest) that already handles your stuff
- The garage feels too dark — the brightness gain is the primary upgrade you want
- You don't park a car in the garage (no floor-space pressure)
- You're a renter or short-term owner where pegboard install isn't justified
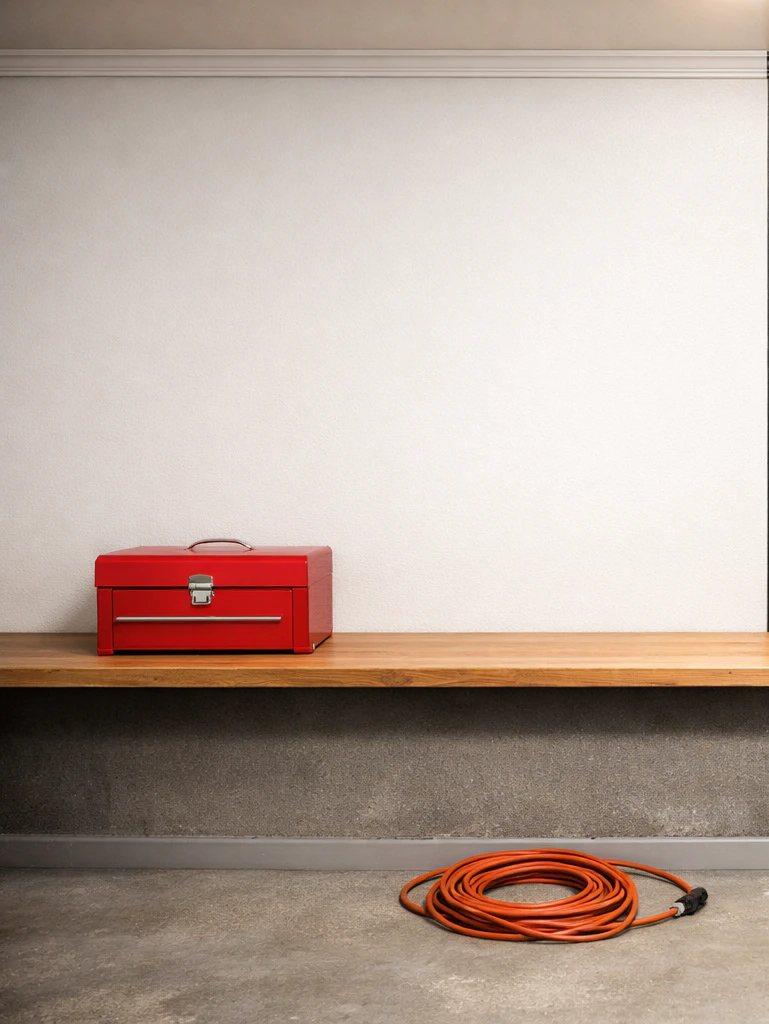
For finished drywall garages, Behr Premium Plus in eggshell or semi-gloss at $30 a gallon covers 300+ sq ft (more than enough for a 2-car garage). For bare cinderblock garages, Drylok concrete sealer paint at $30 is the required product — it bonds to porous cinderblock where regular paint flakes off within 12-18 months. The install is one weekend afternoon including the 4-hour cure between coats.
The under-discussed advantage of painting in garages specifically is light reflection. Garages typically have one or two overhead fluorescent or LED fixtures providing 800-1200 lumens total — barely enough to read tool labels. Bare cinderblock absorbs roughly 80% of that light; white-painted walls reflect 80%+ of it. The perceived brightness gain is dramatic — most homeowners describe the painted-garage feel as "30-50% brighter" even though the light fixtures didn't change. The garage stops feeling like a basement and starts feeling like a usable workshop.
What you give up: zero floor space recovery (the stuff stays on the floor), no tool organization improvement (you'll still hunt for the 10mm socket), and the resale "organized garage" listing line that pegboard adds. For under-30-tool collections this is fine; for serious DIYers it's leaving the main upgrade on the table.
When pegboard storage earns its cost
Pick pegboard storage if at least three of these are true:
- Your tool collection is over 50 items (hand tools + small power tools + supplies)
- Your garage floor is currently covered in stuff (the "I can't park here" problem)
- You have bikes, ladders, garden hoses, or extension cords that need wall mounting
- You do regular DIY/workshop work and need to find tools fast
- You own the home and want the resale "organized garage with storage" listing line
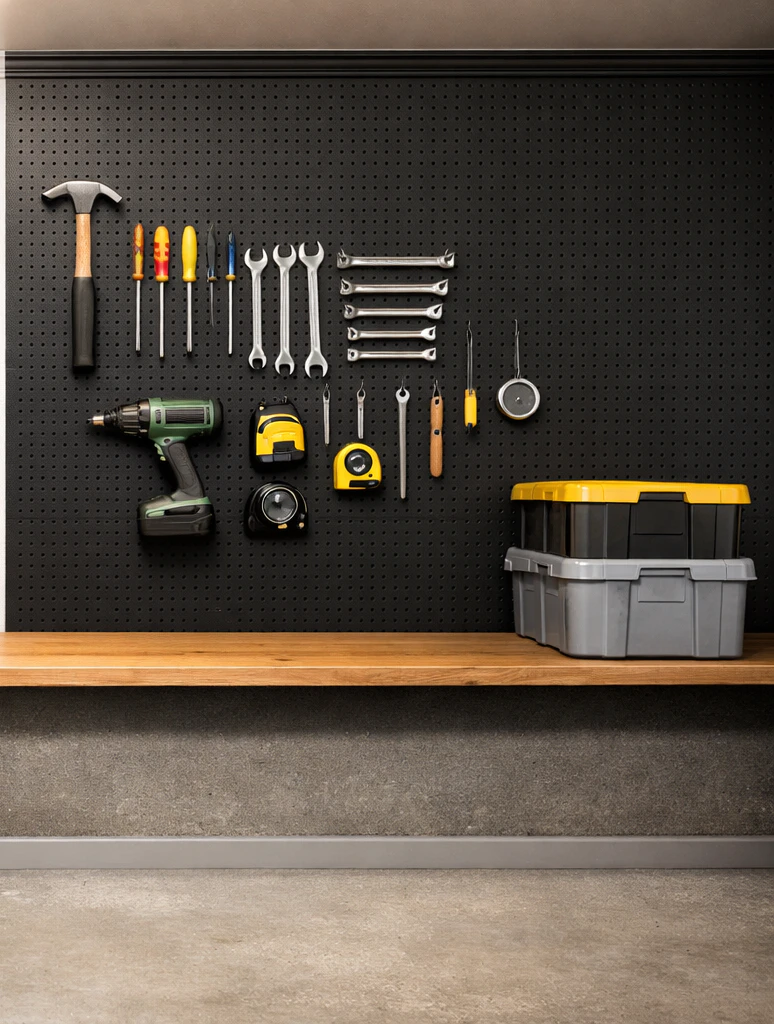
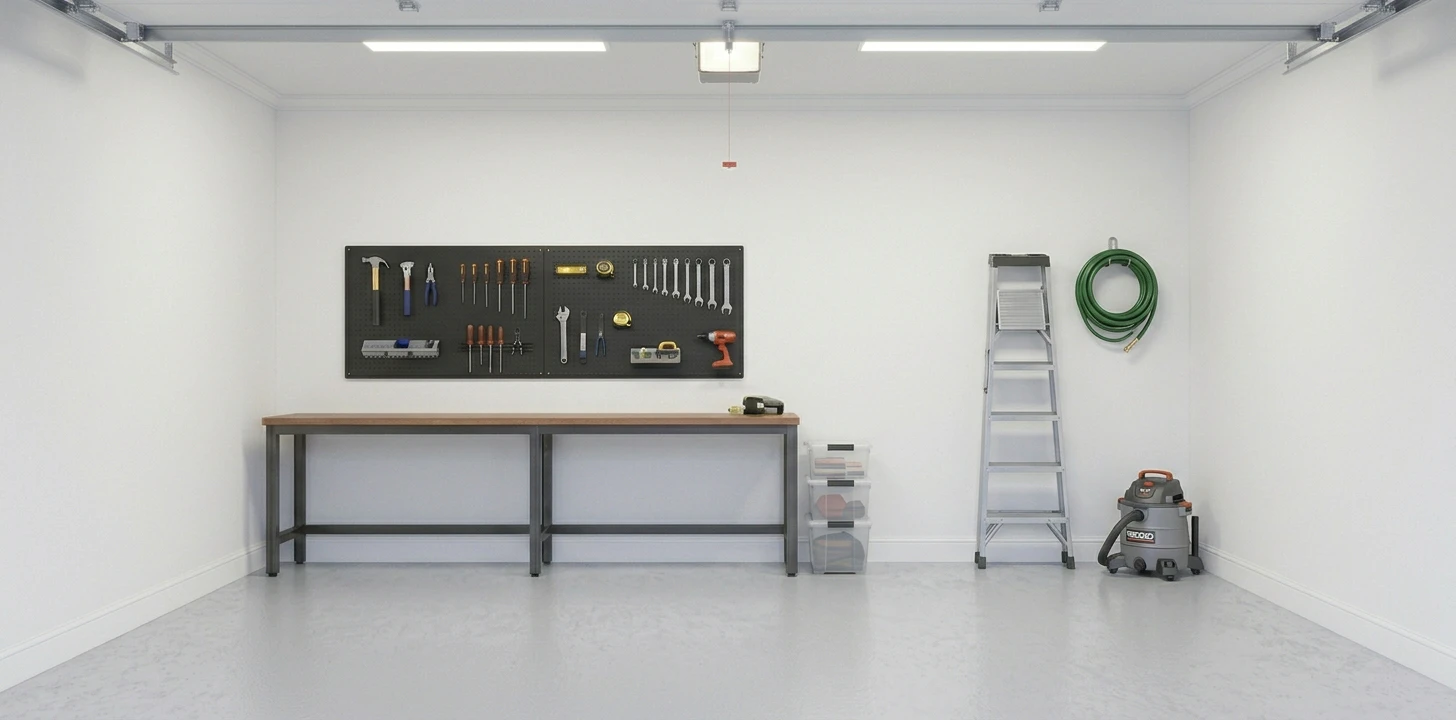
Wall Control metal pegboard is the gold-standard product — 20× the weight capacity of cheap wood pegboard from hardware stores and uses standard pegboard hooks. A 16×32 inch panel costs $40-60 and handles a basic homeowner tool collection (40-50 items). Serious DIYers need 2-3 panels covering 32×48 inches minimum. Mount to wall studs with 2.5-inch wood screws for drywall garages, or to furring strips + Tapcon masonry screws for cinderblock garages (see substrate section below).
The biggest practical argument is floor space recovery. A 32×48 inch pegboard area (about 10 sq ft of wall) holds enough tools to clear 30-50 sq ft of garage floor — the math is genuinely brutal. Getting bikes wall-mounted adds another 20-30 sq ft of floor recovery. Combined with ceiling-mount overhead storage for seasonal items, a complete wall-and-ceiling organization system can recover 80-100+ sq ft of garage floor — enough to fit a car that was previously parked outside.
What you give up: no brightness improvement (bare wall stays bare behind and around the pegboard), 4-6 hours of install work the paint alternative doesn't require (longer on cinderblock with the furring-strip step), and the "clean finished" aesthetic of a fully painted wall — exposed cinderblock or unfinished drywall around the pegboard reads industrial rather than residential.
The brutal floor-space recovery math
The garage-specific factor that makes pegboard often the cheaper option per square foot of usable space, even though paint costs less in raw dollars.
The math: a two-car garage in most US markets is 400-500 sq ft. Floor-clutter studies (yes, those exist) put the average cluttered garage at 40-50% of floor space "occupied by stuff that should be on walls or ceiling." For a 480 sq ft garage, that's 190-240 sq ft of floor space lost to stuff that doesn't need to be there. At $50-100/sq ft (the construction cost of garage space in most markets), that's $9,500-24,000 of effective real estate sitting unused.
The pegboard cost-per-recovered-foot math: a $120 metal pegboard installation (2 panels + hooks + screws) typically recovers 30-50 sq ft of usable floor space in the first month after install. That's $2.40-$4 per square foot recovered — vs $50-100/sq ft if you tried to solve the problem by buying a bigger garage. The cost-effectiveness ratio is roughly 20-40× in pegboard's favor.
The "I can park my car now" outcome: in surveys of homeowners who installed wall-and-ceiling garage storage systems, 60-70% report that their car returned to parking in the garage within 30 days of install. For homeowners who'd been parking outside in weather, the year-one car-protection value alone (avoided hail, sun damage, snow exposure) usually exceeds the storage install cost.
The implication: for any garage where a car parks outside because the inside is too cluttered, pegboard isn't an aesthetic upgrade — it's a $120 investment with $5,000+ first-year practical return. Paint can wait; pegboard pays for itself fastest.
Cinderblock vs drywall install difference
The under-discussed install factor that catches first-time DIYers off guard and adds an hour to cinderblock garage installs.
Finished drywall garages (most attached garages in homes built after 1980) — direct pegboard mount with 2.5-inch wood screws into wall studs. Standard 16-inch on-center stud spacing means most panels hit 2-3 studs across their width. Install time: 30 minutes for a 32×48 inch pegboard area, basic tools only (drill, stud finder, level).
Bare cinderblock garages (most detached garages, older basement workshops, garages in homes built before 1970) — pegboard can't mount directly because cinderblock doesn't provide the 1/2 inch gap pegboard hooks need to clip in. The install pattern: attach 1×2 inch horizontal wood furring strips to the cinderblock using Tapcon masonry screws (pilot-drilled with a masonry bit first), then mount pegboard to the furring strips with standard wood screws. The strips create the 3/4 inch gap pegboard hooks need.
Tools required for cinderblock install: hammer drill (rent for $25/day at any tool rental counter) or a quality impact driver with masonry bit set, level, drill bit appropriate for Tapcon sizing. Total install time for a 32×48 inch cinderblock-mounted pegboard: 90 minutes vs 30 minutes on finished drywall. Plan the longer timeline if your garage has bare cinderblock walls.
The cinderblock paint caveat: if you're painting AND mounting pegboard on cinderblock, paint FIRST. Painting around a mounted pegboard requires extra cuts and tape work; painting the whole wall white before pegboard install means the wall around and behind the pegboard reads as finished even though it's still bare cinderblock under the paint.
The paint-plus-pegboard hybrid pros recommend
The combined approach that garage organization companies (California Closets Garage, Garage Living, Tailored Living) spec for most installs — and the one that delivers both the brightness gain and the floor-space recovery without forcing one to compromise the other.
The recipe (in order):
- Paint the entire garage wall white — Drylok concrete sealer for cinderblock walls, quality eggshell or semi-gloss interior paint for drywall walls. Full-coverage white reflects light evenly and creates the bright workshop baseline. $30-50 in materials, one weekend afternoon.
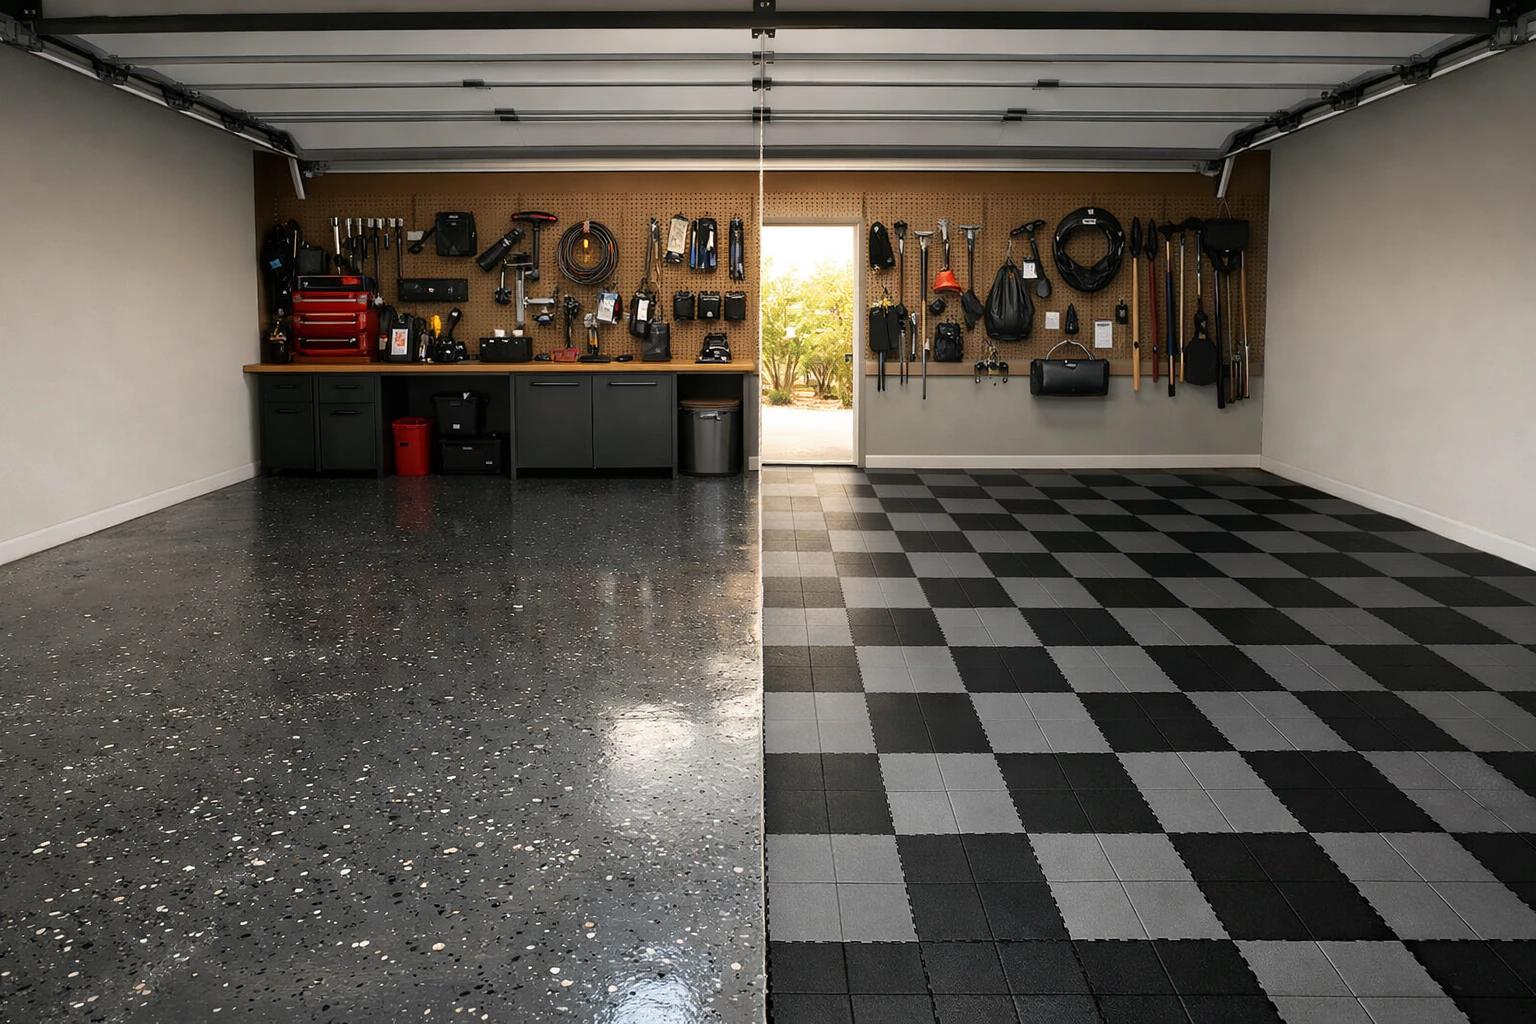
- Mount metal pegboard in work zones only — above the workbench (the primary tool-grab area), behind any secondary tool-storage area (often the wall next to the side door), and beside the garage door (for bike + ladder + hose mounting via Park Tool hooks). Don't pegboard every wall — that reads like a hardware store; pegboard SECTIONS on a painted wall read like an organized workshop. $80-160 in pegboard + hooks.
- Add ceiling-mount overhead racks for seasonal storage — FleximountS or MonsterRax holds 400-600 lbs of holiday decorations, summer/winter clothes, camping gear above the parking zone. $80-150 per rack.
The math: $30-50 paint + $80-160 pegboard + $80-150 overhead rack = $190-360 total for a complete garage transformation. The painted background visible around and between pegboard sections gives the room visual breathing space; the work-zone pegboard handles daily-use tools; the overhead rack handles seasonal storage. All three together recover 80-100+ sq ft of garage floor — enough for the car that was previously parked outside.
The aesthetic logic: walls reading "I painted them on purpose" + pegboard reading "I organized this on purpose" + ceiling storage reading "I solved the seasonal-stuff problem on purpose" = the entire garage reads as "designed workshop" rather than "stuff dump." For real estate listing photos specifically, this is the difference between buyers seeing a "bonus room" and a "yard sale waiting to happen."
The short verdict
Pick paint alone if your tool collection is small (under 30 items), you already have closed storage handling your stuff, the garage feels too dark, you don't park a car inside, or you rent. Pick pegboard alone if your tool collection is over 50 items, your garage floor is currently covered in stuff, you have bikes and ladders that need wall mounting, or floor-space recovery is the primary problem you want solved. For most homeowners with budget under $400 and a tool collection over 50 items, do the hybrid — paint the whole wall first for brightness, mount pegboard in work zones only, add ceiling-mount overhead racks for seasonal storage. $190-360 total for the complete "designed workshop" result that California Closets Garage and Garage Living spec for clients.
Comparing more garage wall options? The full garage walls guide also covers Proslat slatwall (the premium upgrade for serious tool collections with 250 lb per linear foot capacity), Park Tool wall-mount hooks for bike-and-ladder storage, and ceiling-mount overhead racks (the most-underused garage storage option).
 11 Best Garage Floor Coatings 2026
 Full garage walls guide
 Garage Floor: Epoxy vs PVC
 Garage Floor: Paint vs Epoxy
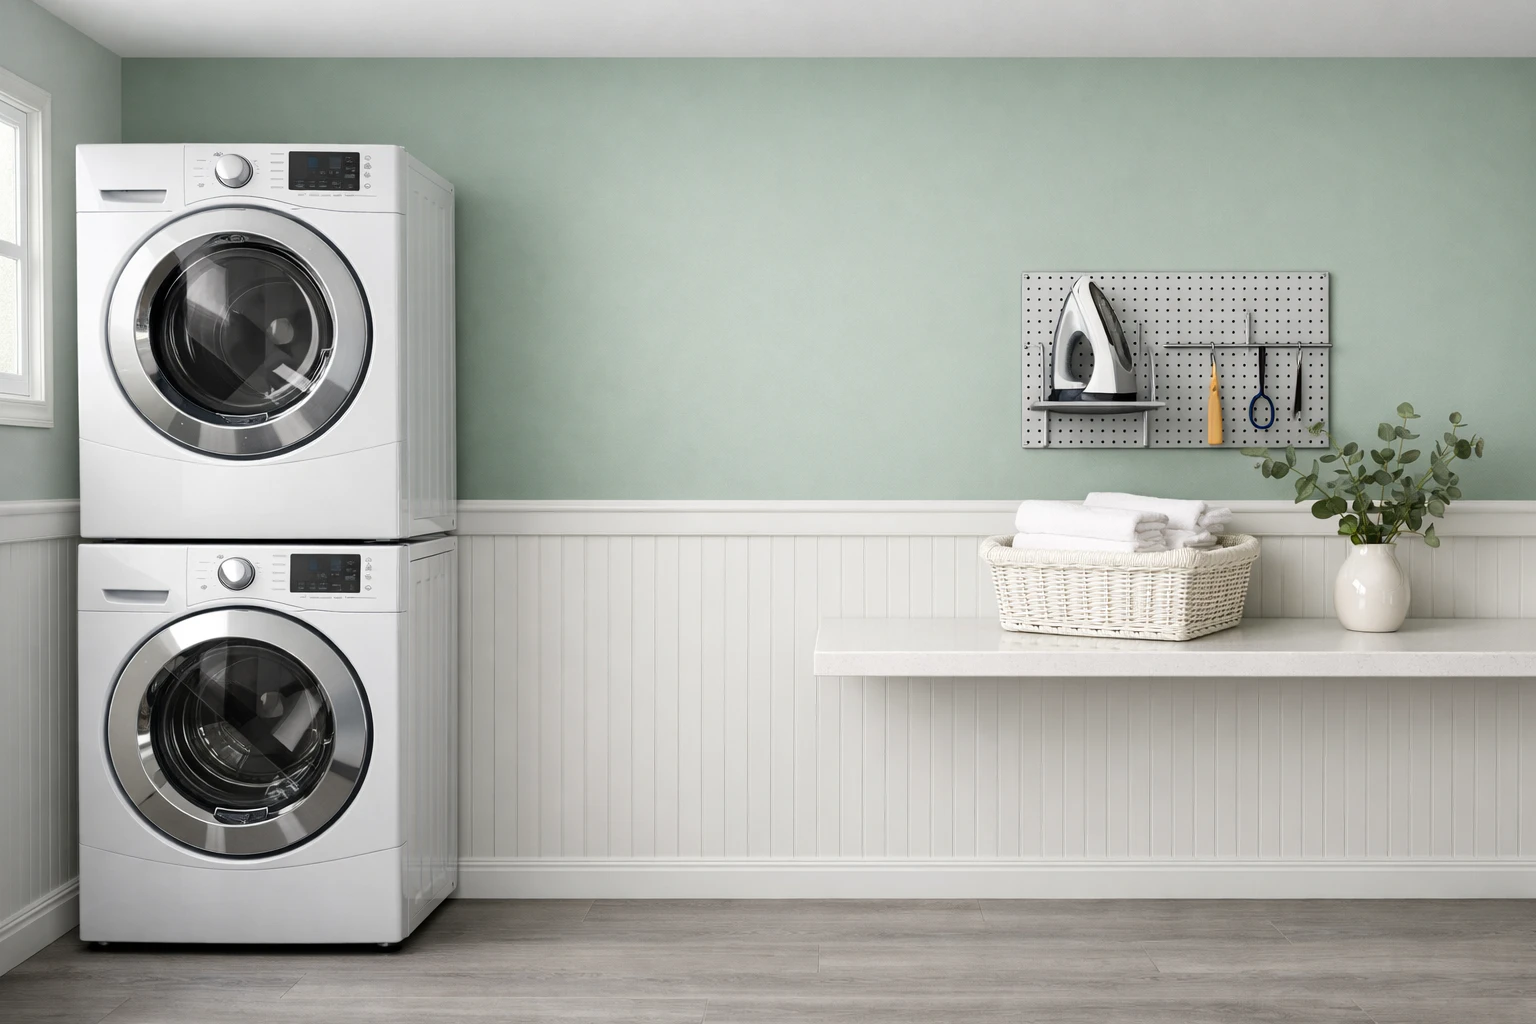 Laundry Room Walls