Updated June 2026. Prices reflect US market kit costs from Amazon, Home Depot and Lowe's. All comparisons based on a typical 30 sq ft backsplash (10 ft of counter at 18 inches tall).
The kitchen upgrade that splits renters and owners
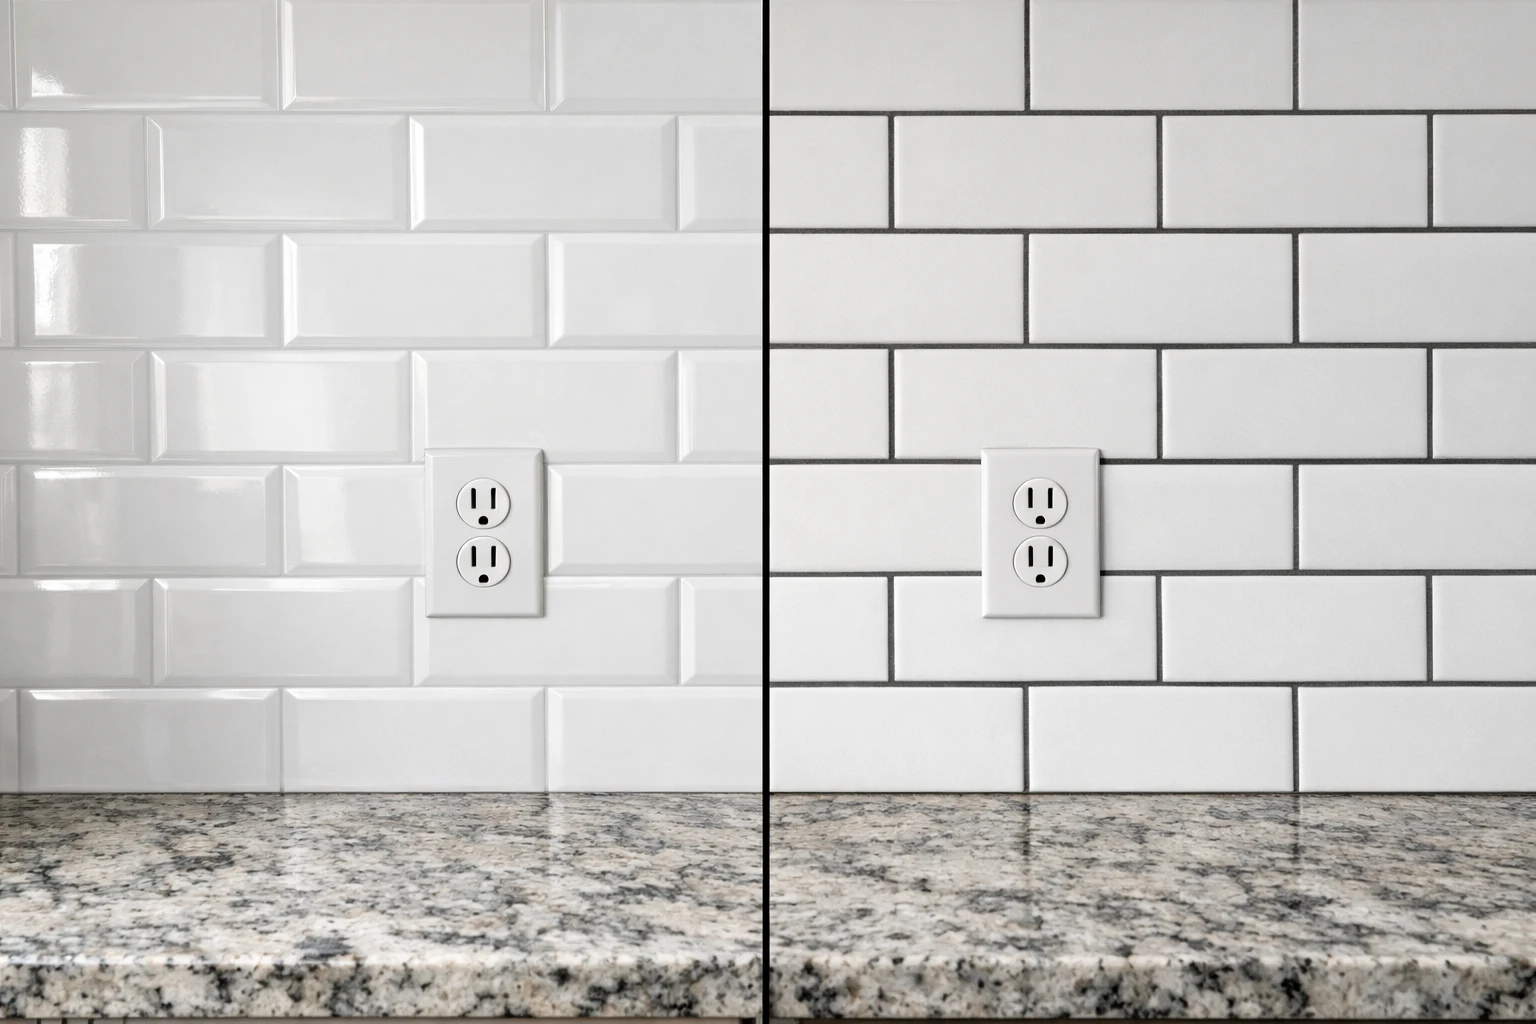
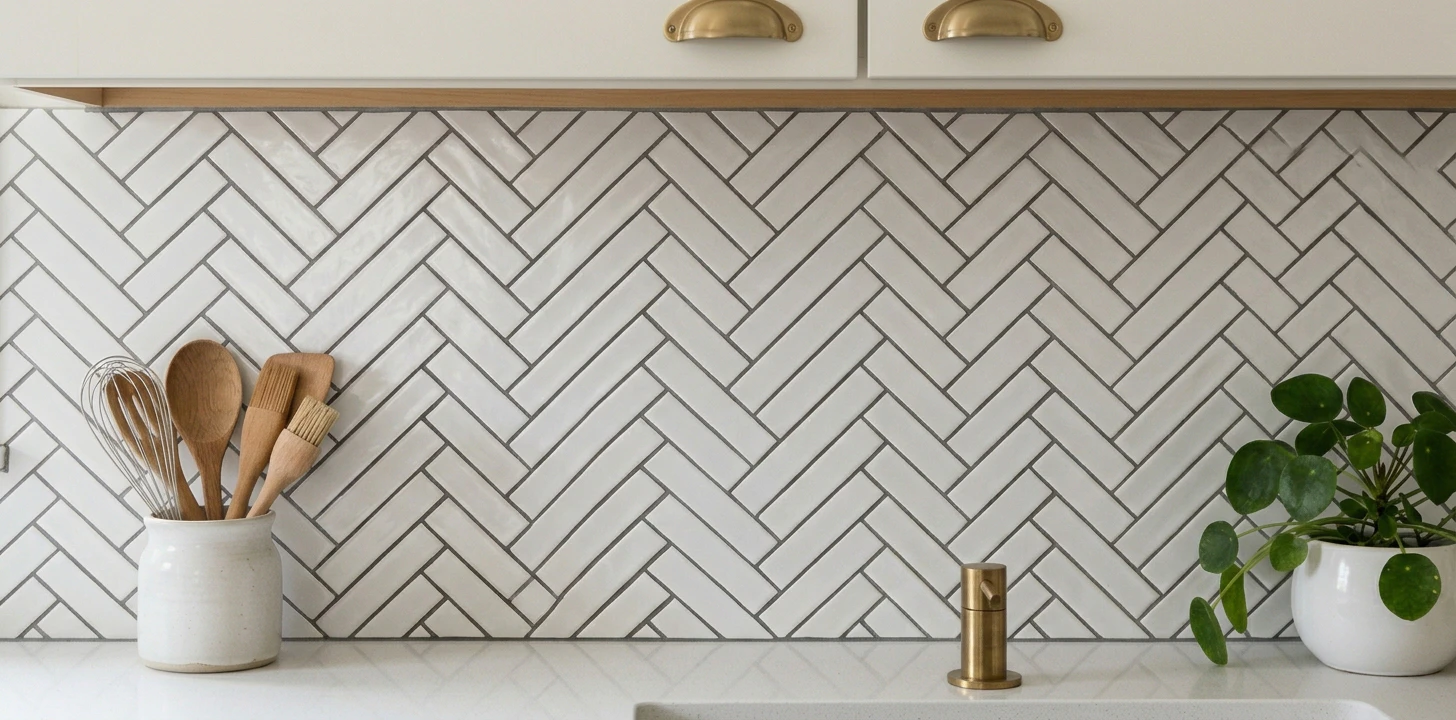
The backsplash decision is the cleanest renter-versus-owner split in the whole house. Peel-and-stick backsplash is a $130 weekend project that lifts off cleanly when you move out. Real ceramic subway tile is a $250+ permanent install that adds resale value and lasts decades. If you're a renter, peel-and-stick is almost always right. If you own and plan to stay, real tile is almost always right.
The only thing that complicates this clean division is heat. The wall behind a hot gas stove can exceed 140°F — hot enough to soften most peel-and-stick adhesives. Within a year you've got panels lifting at the corners directly above the burner. Two workarounds exist (we cover both below), but if you have a high-output gas range, the heat issue may push you toward tile even as a renter.
Below: side-by-side table, scenarios for picking each, the heat problem in detail, install gotchas, and the FAQs people actually ask.
Side-by-side comparison

| Peel & stick backsplash | Real ceramic subway tile | |
|---|---|---|
| Cost per sq ft | $4–5 | $6–8 (tile + thinset + grout) |
| 30 sq ft backsplash total | ~$130 | ~$250 + tools |
| Lifespan | 3–5 years (less near heat) | Decades — outlasts the kitchen |
| Install time | One afternoon (4–5 hours) | Two full days with cure time |
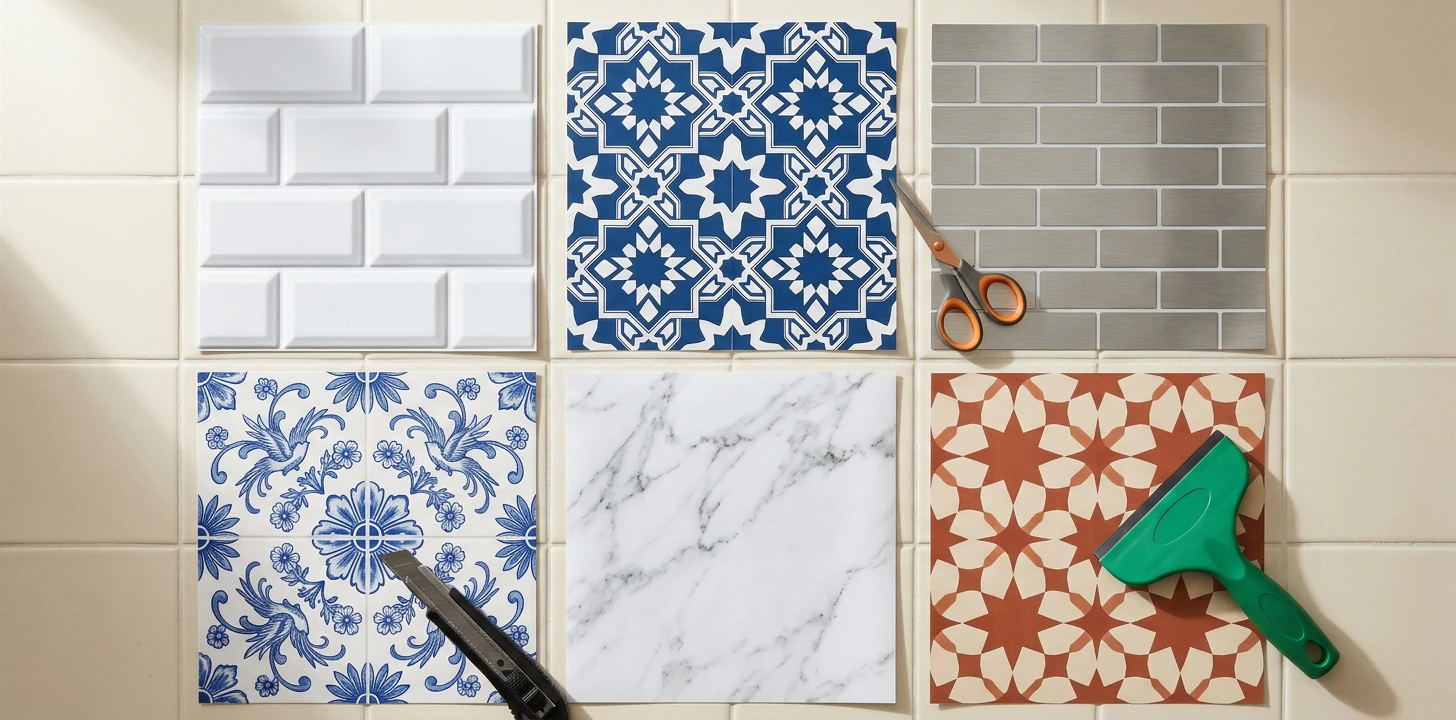
| Tools required | Utility knife, ruler, squeegee | Wet saw rental, trowel, grout float |
| Removable cleanly? | Yes — peels off, minor adhesive residue | No — permanent install |
| Heat behind stove | Softens above 140°F — panels lift | Heat-proof at any kitchen temperature |
| Adds resale value? | No — not a buyer-visible feature | Yes — $500–1,500 modest premium |
| Best for | Renters, quick refresh, low-cook kitchens | Owners staying 5+ years, heavy cooks |
When to pick peel & stick
Pick peel-and-stick if at least three of these are true:
- You're renting and want zero permanent changes
- Budget is under $150 for the whole backsplash
- You cook lightly — microwave, sandwiches, occasional pasta — not stovetop-heavy
- You want it done this weekend, no tool rentals, no learning curve
- You might want to change the look again in 3 years
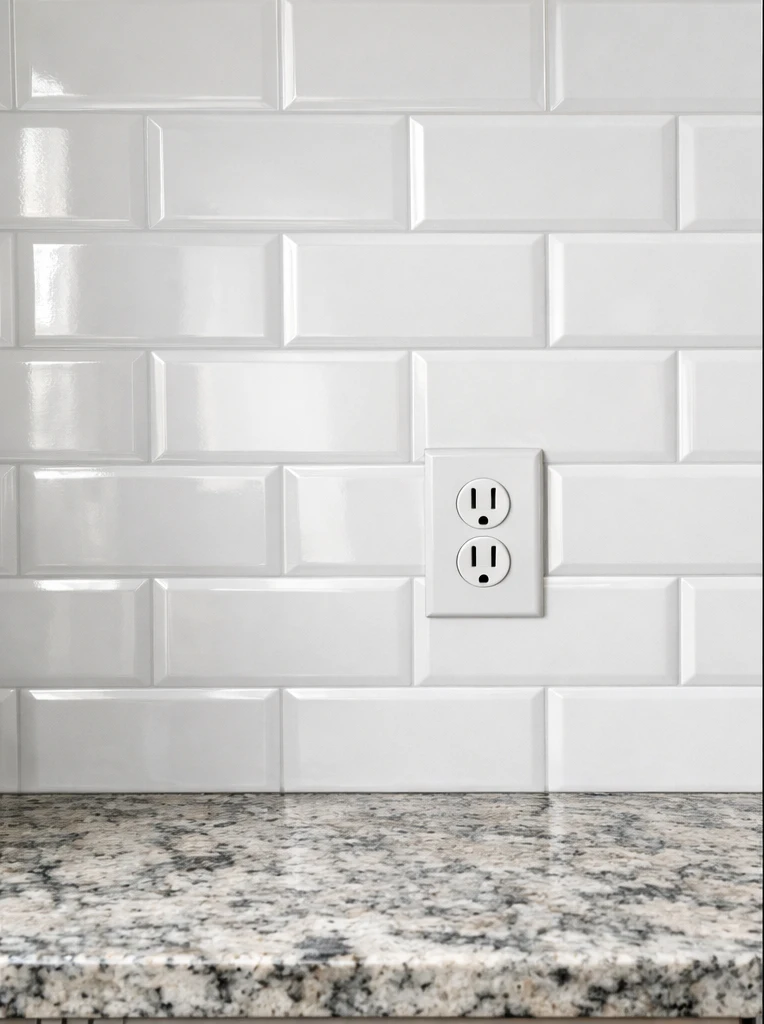
The modern peel-and-stick generation (Smart Tiles, Crystiles, Stick-On Tiles) is dramatically better than the early 2010s vinyl decals. The gel-finish products have real 3D depth — they read as ceramic from three feet away. At $4–5 per sq ft, a 30 sq ft backsplash is $130 in materials. Install is a single afternoon: measure, cut with a utility knife around outlets, peel the backing, press in place, squeegee out air bubbles. Done.
The honest case for peel-and-stick in 2026: it's the right choice for any rental kitchen, period. Landlords don't care because it's reversible (assuming painted walls — see FAQ below). For owners, it's the right choice if your kitchen is a "looks fine" project rather than a "investing in this house" project — and you'll repaint or re-do the backsplash again in a few years anyway.
What you give up: longevity (3–5 years before edges curl, less near the stove), heat tolerance (see the dedicated section below), and resale signal (buyers don't see peel-and-stick as a feature; some see it as a project waiting to be redone).
When to pick real subway tile
Pick real ceramic tile if at least three of these are true:
- You own the home and plan to stay 5+ years
- You cook frequently on a gas or high-output electric stove
- You're willing to commit one full weekend to the install
- You want a finish that adds to resale value when you eventually sell
- You want to never think about the backsplash again
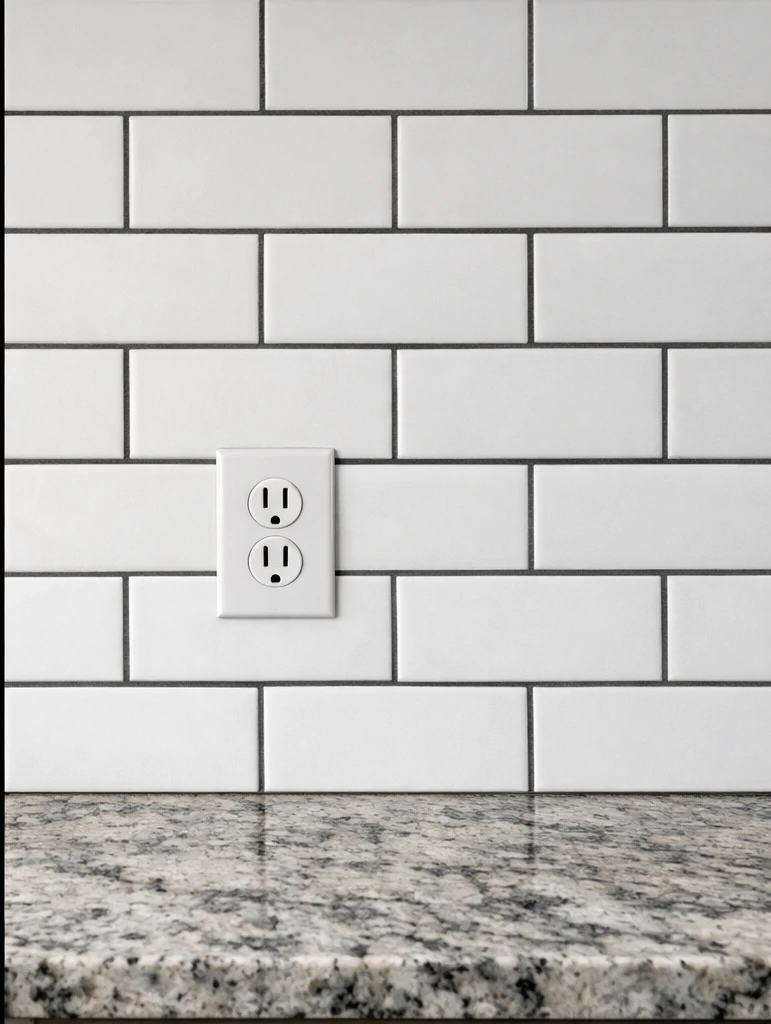
Plain 3×6 inch white ceramic subway tile from MSI or Daltile runs $4–6 per sq ft for the tile itself. Add $30 for thinset, $20 for grout, $15 for spacers, and a $50 weekend rental on a wet saw — total around $250 for a 30 sq ft backsplash, including tools. The premium upgrade is dark grout (charcoal or matte black unsanded grout) — adds $5 to the project and instantly pushes the look from rental to design-magazine.
The install is genuinely a learnable two-day project. Day 1: spread thinset with a notched trowel, set tiles in place with spacers, let cure overnight. Day 2: mix grout, push into joints with a float, wipe surfaces clean with a damp sponge, let cure, then seal grout lines. The skill-limiting step is cutting around outlets — practice on scrap tiles first and the rest is methodical.
What you give up: weekend (real two full days vs one afternoon), upfront cost (~90% more than peel-and-stick), and flexibility (this is permanent — picking a backsplash you'll hate in 5 years is a much bigger problem than with peel-and-stick).
The heat-behind-the-stove problem
This is the single technical reason peel-and-stick fails in some kitchens. Most peel-and-stick adhesives soften above 140°F. A high-output gas burner with a short or undersized range hood can push the wall directly behind the burners well past that — measurable infrared temps over 160°F during a 30-minute sauté session.
What happens: edges of the peel-and-stick directly behind the burners start to lift within months. Within a year, panels sag or detach. Grease soaks into the gap and the area looks worse than no backsplash at all.
Three ways to handle it:
- Stainless steel splash guard — install a 24-inch tall stainless panel directly behind the stove, peel-and-stick on the rest of the wall. The metal is heat-proof and reads as a deliberate kitchen feature.
- Hybrid install — do real ceramic tile in a 24×30 inch zone behind the burners, peel-and-stick on the rest. Match the color family and most people won't notice the transition (see FAQ).
- Upgraded heat-rated peel-and-stick — Smart Tiles' Crystiles line is rated to 175°F instead of 140°F. Buys you a meaningful safety margin if you have a moderate-output stove. Not bulletproof for high-output ranges.
If you have an induction or low-output electric stove, the heat problem largely doesn't exist — your stove top heats the pot, not the wall behind it. Standard peel-and-stick works fine in induction kitchens for the full 3–5 year lifespan.
Install reality check: where DIYers go wrong
Both products fail in predictable ways. The fixes are cheap if you know them upfront.
Peel-and-stick failure modes:
- Textured walls — adhesive needs a smooth surface to bond. Light orange peel is borderline; heavy knockdown texture means peel-and-stick won't hold past a year. Skim-coat with joint compound, sand smooth, prime first.
- Unprimed drywall — adhesive bonds to the paper face. On removal it tears the drywall. Always install over painted walls.
- Outlet edges — cuts need to be slightly oversized; the face plate hides them. Cuts that are too tight peel back at the corner over time.
Real tile failure modes:
- Skipping the level line — first row of tile MUST be perfectly level. Snap a chalk line, screw a temporary ledger board to the wall, set the first row on the ledger. Everything stacks from there.
- Wrong thinset for the substrate — drywall needs unmodified thinset; cement board needs modified. Wrong type and tiles pop off in months.
- Grout sponging too aggressively — pulls grout out of the joints. Damp sponge, light circular motion, change water often. Three passes minimum.
The short verdict
Pick peel-and-stick if you're renting, on a sub-$150 budget, or your kitchen is a quick refresh that you'll redo again in a few years. Pick real subway tile if you own the home, cook on a gas or high-output electric stove, or want a finish that adds to resale value. The hybrid approach — real tile behind the stove, peel-and-stick everywhere else — gets you 90% of the benefits of both for owners on a budget.
Comparing more backsplash options? The full kitchen backsplash guide also covers thermoplastic panels and painted backsplash — useful if neither peel-and-stick nor real tile fits your specific kitchen.
 11 Best Removable Tile Sticker Brands
 Full kitchen backsplash guide
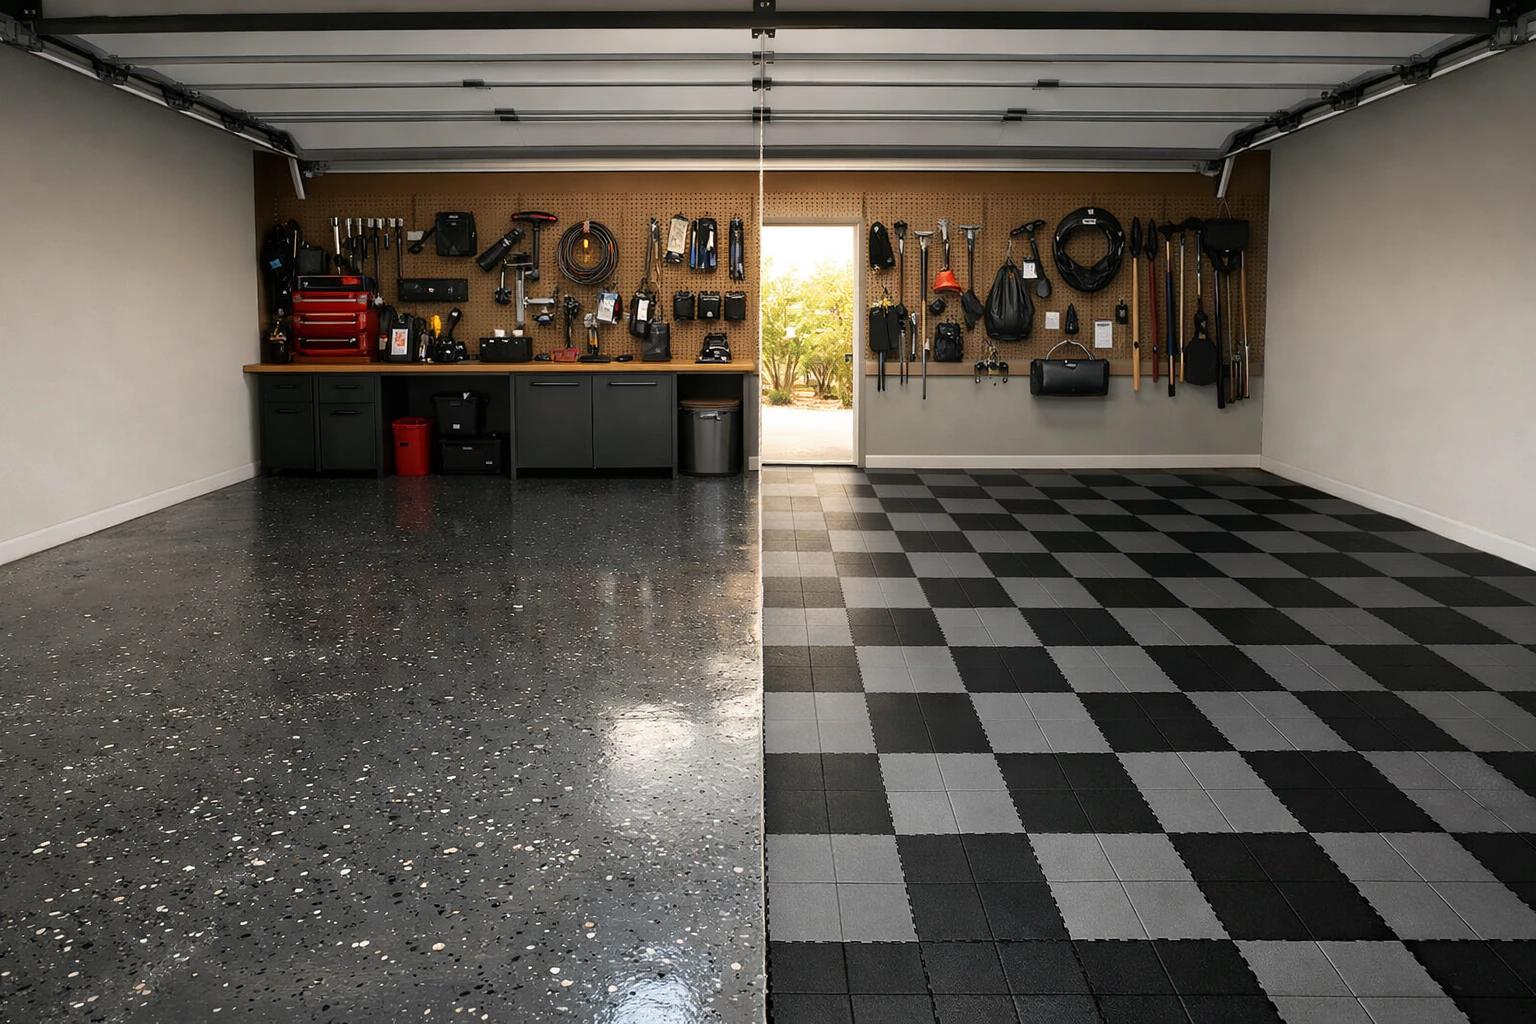 Garage Floor: Epoxy vs PVC
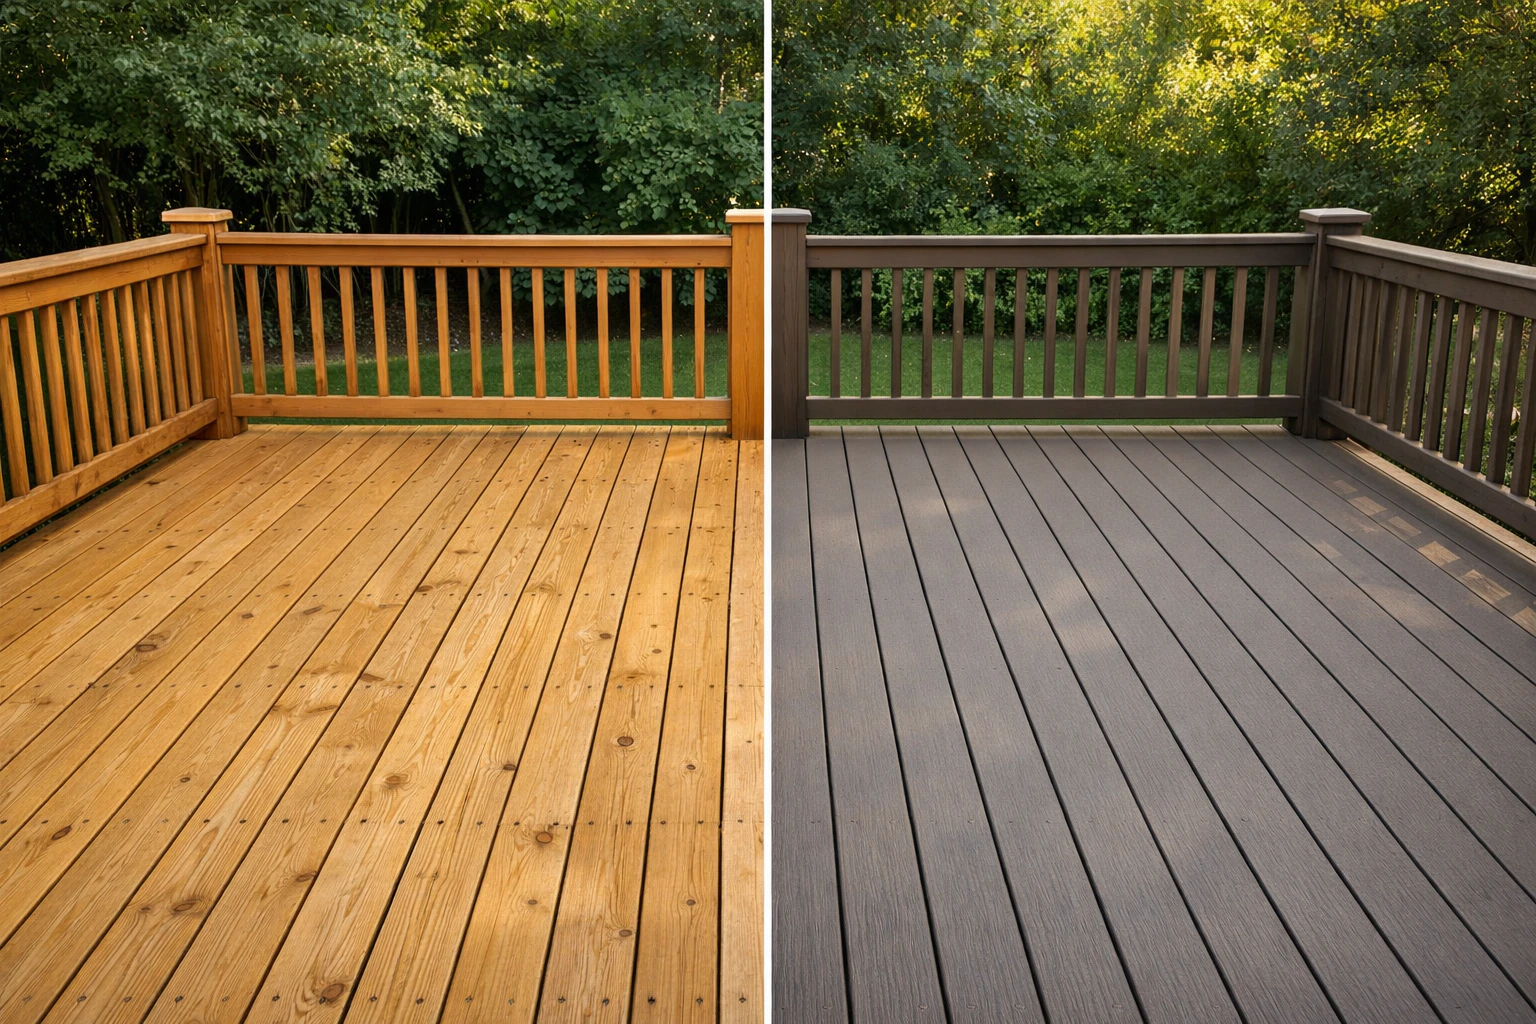 Outdoor Deck: PT vs Composite
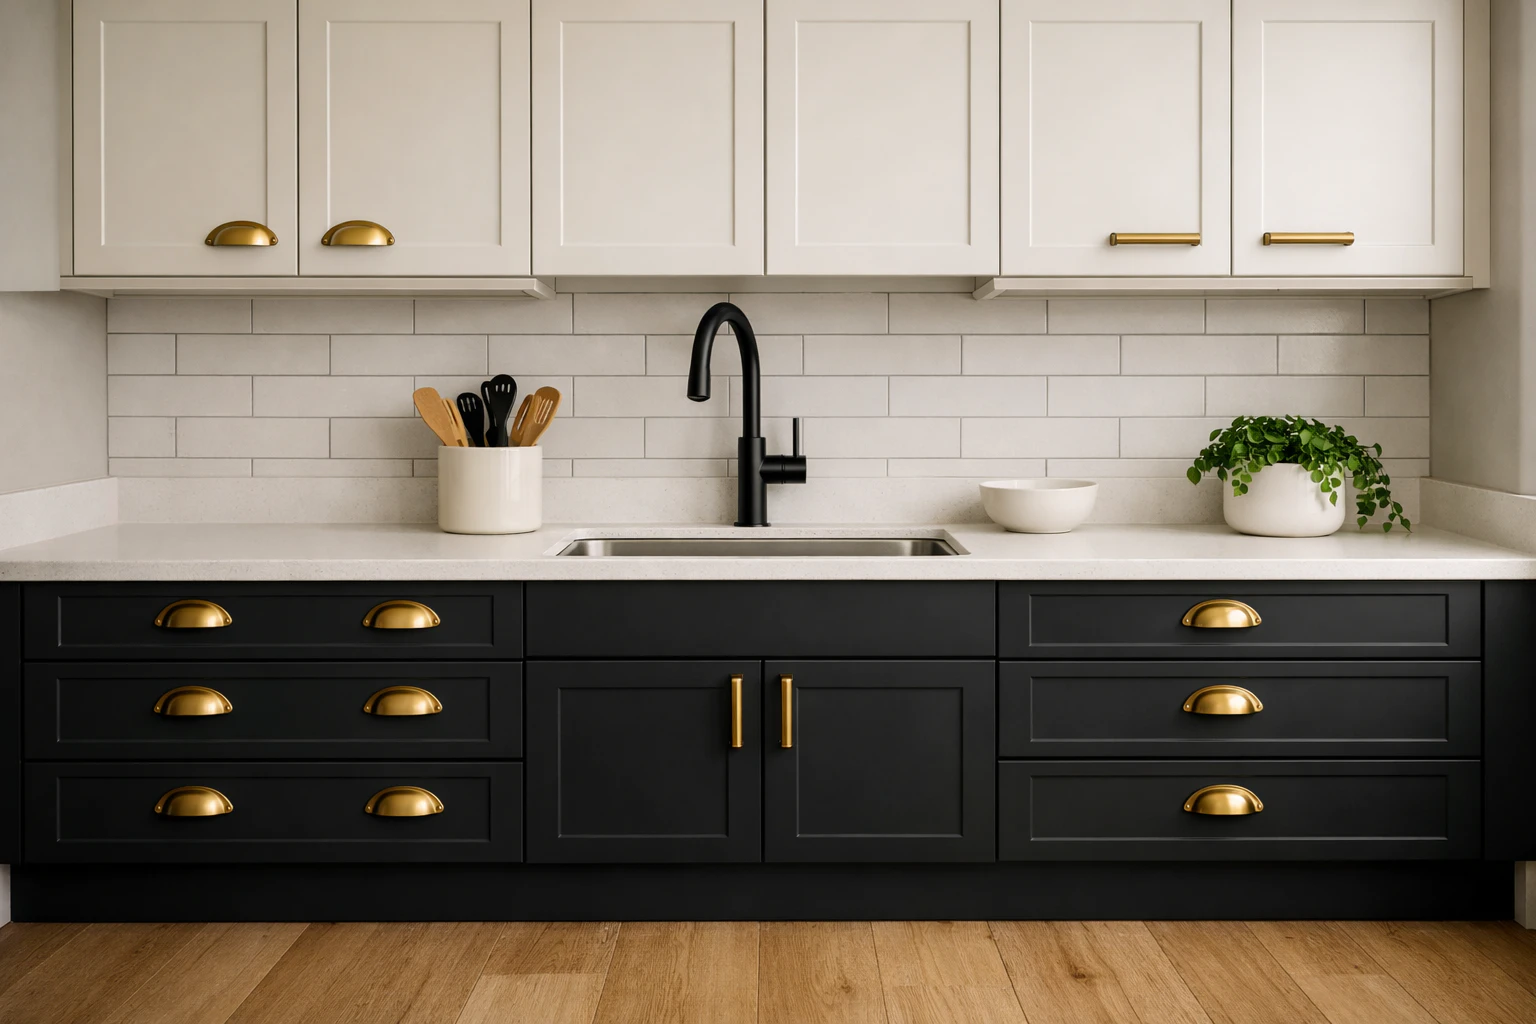 Kitchen Cabinets