Updated June 2026. Prices reflect US market kit costs from Amazon and Home Depot. All comparisons based on a typical kitchen with 25–30 sq ft of cabinet face (10–12 doors plus drawers).
The cleanest renter-vs-owner kitchen decision
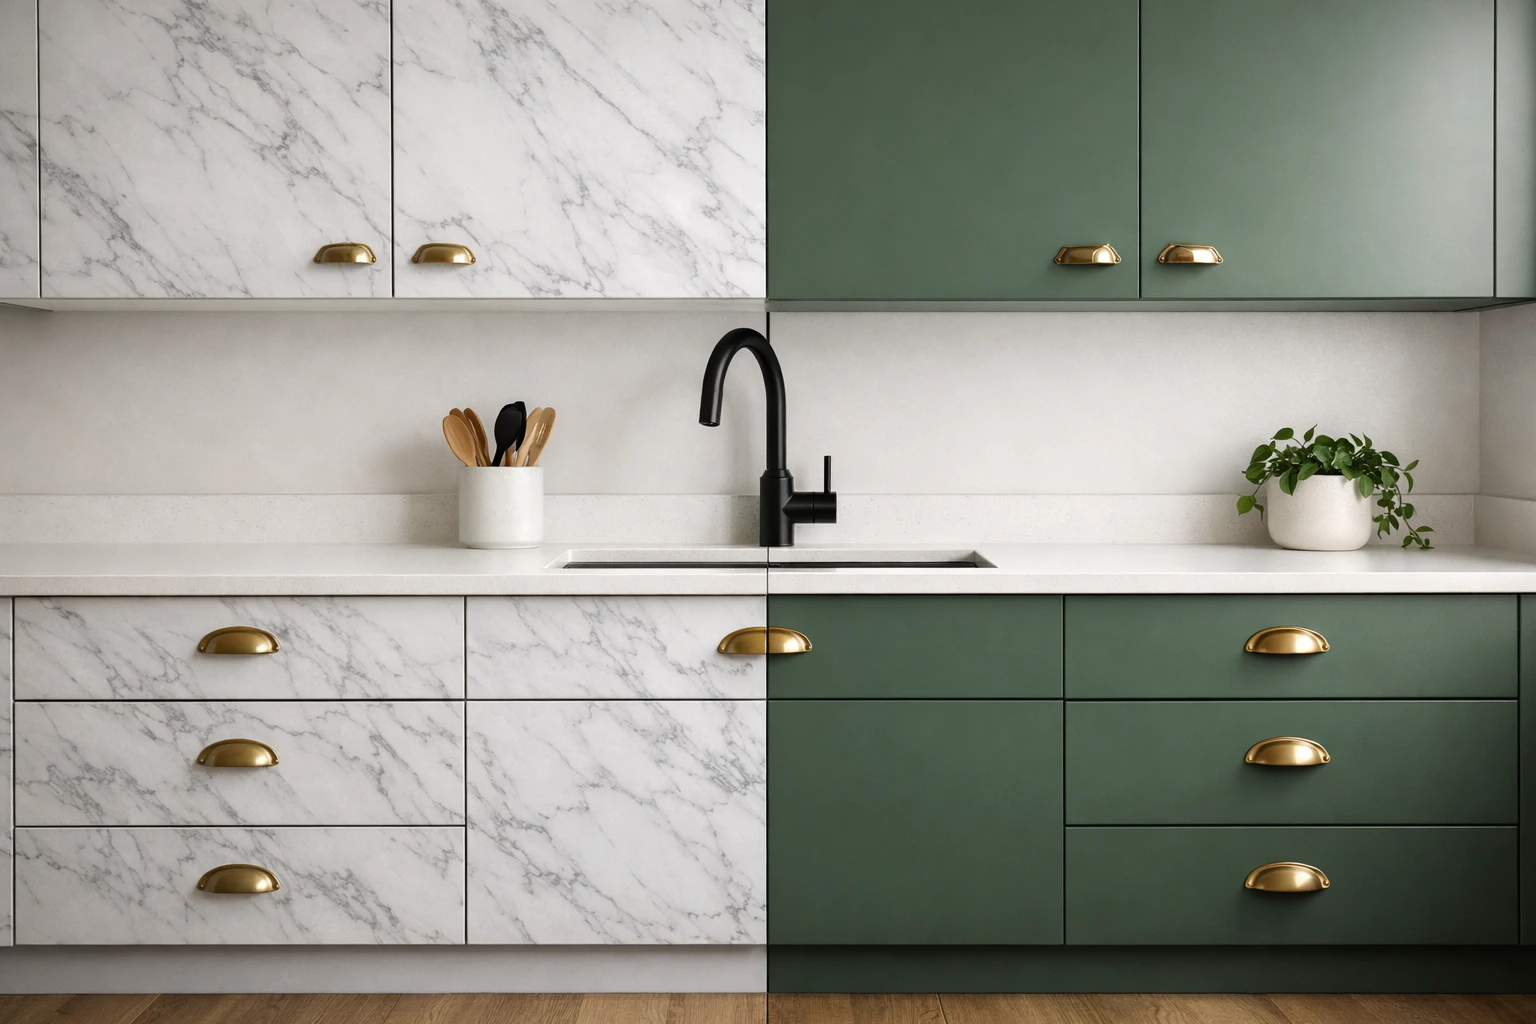
"Should I paint my kitchen cabinets or wrap them in contact paper?" is one of the most-searched kitchen renovation questions on the internet — and the answer divides almost perfectly along one line: do you own or rent?
Both finishes transform the kitchen visually. Both cost under $100. Both can be done in a weekend by someone who's never refreshed cabinets before. But one peels off cleanly when you move and the other commits you to the next 5–7 years.
The short version: contact paper wrap is the renter answer — $30–50, one afternoon, peels off on move-out, lasts 2–3 years if you're lucky. Paint (the Rust-Oleum kit or similar) is the owner answer — $80–100, three days of work, permanent, lasts 5–7 years and adds modest resale value.
Below: side-by-side table, when each one wins, the universal grease problem that wrecks both if you skip prep, the $30 hardware upgrade that doubles the perceived quality, and FAQs.
Side-by-side comparison

| Contact paper wrap | Paint (Rust-Oleum kit) | |
|---|---|---|
| Cost per sq ft | $0.40 | $3–4 (kit + sundries) |
| Typical kitchen total | ~$30–50 | ~$80–100 |
| Lifespan | 2–3 years | 5–7 years |
| Install time | One afternoon (4–5 hours) | 3-day project (mostly cure time) |
| Tools required | Utility knife, ruler, squeegee | Sandpaper, brushes, mini-roller, drop cloths |
| Removable cleanly? | Yes — peels off with hair dryer help | No — permanent, paint stripper to undo |
| Heat tolerance (near stove) | Softens at 140°F — bubbles near gas range | Handles full kitchen heat without issue |
| Resale value | None — buyers don't notice | Modest — buyers see "upgraded kitchen" |
| Best for | Renters, quick refresh, low-cook kitchens | Owners staying 3+ years, real cooking |
When to pick contact paper
Pick contact paper if at least three of these are true:
- You rent — and you want the kitchen back to original on move-out
- Total budget under $60
- You want it done this weekend with a utility knife and a squeegee
- You cook lightly — microwave, sandwiches, occasional pasta — not stovetop-heavy
- You're OK redoing it in 2–3 years (or you'll have moved by then)
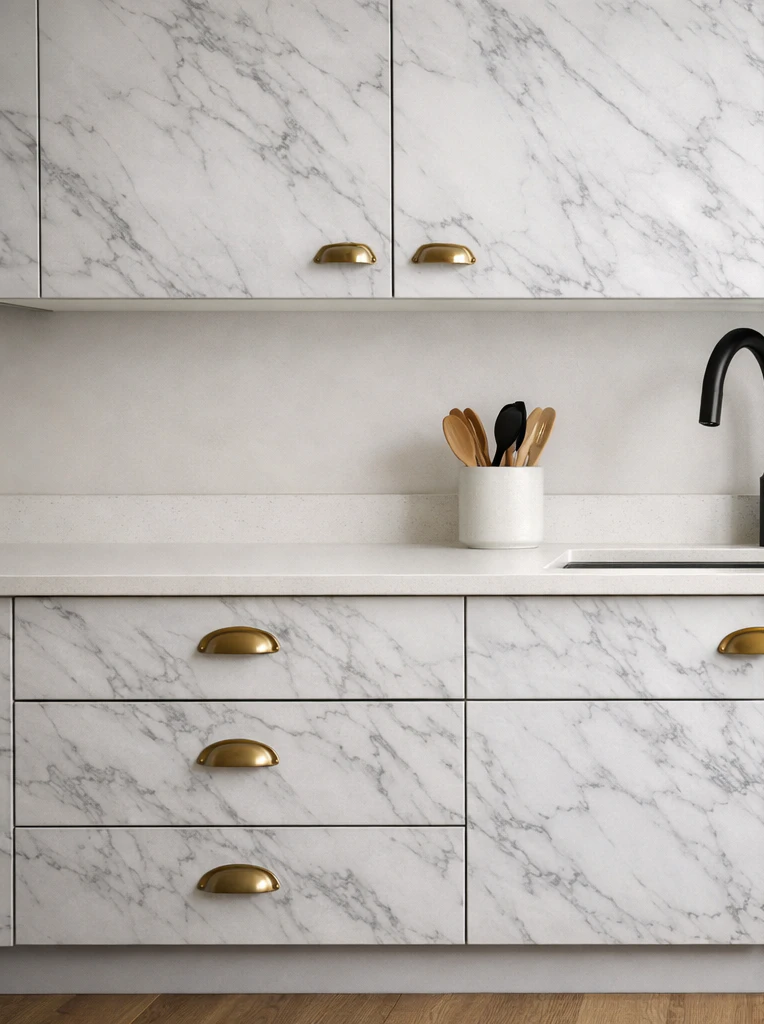
d-c-fix and Con-Tact at $0.40/sq ft are the two reliable brands. For a typical kitchen with 25–30 sq ft of cabinet face you're at $30–50 in material and one Saturday afternoon. Marble, matte black and warm wood-look patterns are what actually fool people from 3 feet away; loud florals and bright colors read as "vinyl wrap" up close.
The honest case in 2026: contact paper is the right answer for any rental kitchen where you wouldn't paint anyway. Landlords almost never object because it's fully reversible. It's also the right answer for owners who genuinely will redo the kitchen in 3 years and just want it to look less depressing in the meantime.
What you give up: lifespan (2–3 years before edges curl, faster near heat or water), heat tolerance (it softens near gas stoves — see the dedicated FAQ below), resale signal (buyers don't notice it positively and may notice it negatively if edges are lifting), and a slightly less premium underfoot — it's a wrap, not a finish, and the texture difference is real up close.
When to pick paint
Pick paint if at least three of these are true:
- You own the home and plan to stay 3+ years
- You're willing to commit a full weekend plus dry time across 3 days
- Your kitchen sees real stovetop cooking with grease and heat
- You want the finish to add some resale value when you sell
- You want to commit to a single color and not think about it for 5+ years
The Rust-Oleum Cabinet Transformations kit at $80–100 includes a deglosser, bond coat, decorative glaze, and protective topcoat — a complete system designed for cabinets specifically (regular wall paint scratches off cabinet surfaces). The bond coat is the secret ingredient: it chemically grips even slick laminate or 20-year-old polyurethane, which is why this kit works where straight paint fails.
Plan three days: Day 1 — remove doors, clean with TSP or substitute, light sand, apply bond coat. Day 2 — second bond coat + decorative glaze if using. Day 3 — protective topcoat and let cure overnight before reinstalling doors. Most of the elapsed time is cure between coats; actual hands-on work is 6–8 hours.
What you give up: upfront time (3 days minimum, often a long weekend), reversibility (you're committed — chemical paint stripper is the only way back, and it's a brutal job), and flexibility on color — pick wrong and you'll redo the whole project.
The grease problem nobody warns you about
This is the single reason most cabinet refresh projects fail at the 3–6 month mark, and it applies equally to both paint and contact paper. Kitchen cabinet faces are coated in years of invisible cooking oil — you can't see it, but you can feel it by running a clean finger across a door. That oil layer is what kills adhesion.
What happens when you skip prep:
- Contact paper: bubbles within 2–6 weeks. Edges lift first, then whole sections detach. The wrap peels off in your hand before the project even amortizes.
- Paint: peels in sheets within 3–6 months, usually starting near handles where hands have been touching the door. Once it starts, the whole job is compromised.
The fix is universal and takes 20 minutes: wipe every cabinet face twice with TSP or a TSP substitute (Krud Kutter, Simple Green Pro-HD), then once with a clean damp cloth. Then proceed with whichever finish. This single step triples the lifespan of either project regardless of price or technique.
Don't skip it. Don't shortcut it. The 20 minutes of degreasing is the most important step in either project — more important than which kit you buy or how careful you are with the application.
Hardware: the $30 finishing touch
Whichever finish you pick, budget another $30–80 for new pulls and knobs. Old builder-grade brass on freshly-painted-or-wrapped cabinets defeats the whole point of the project. The combination that visually carries a $30 wrap job into "looks intentional" territory is:
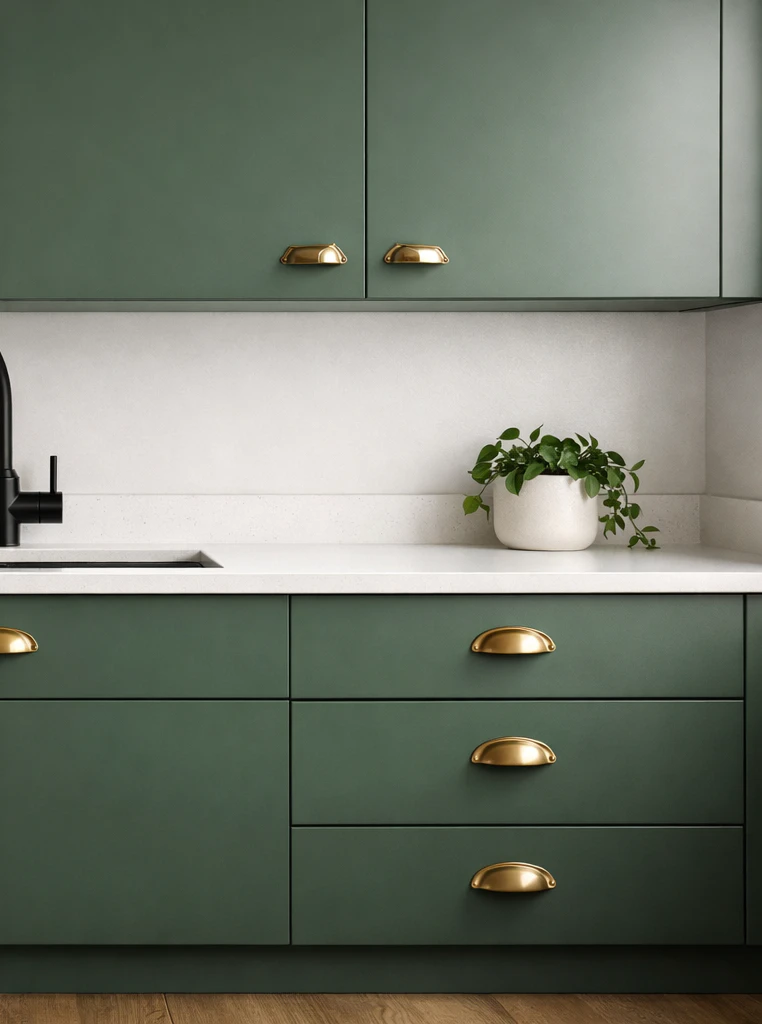
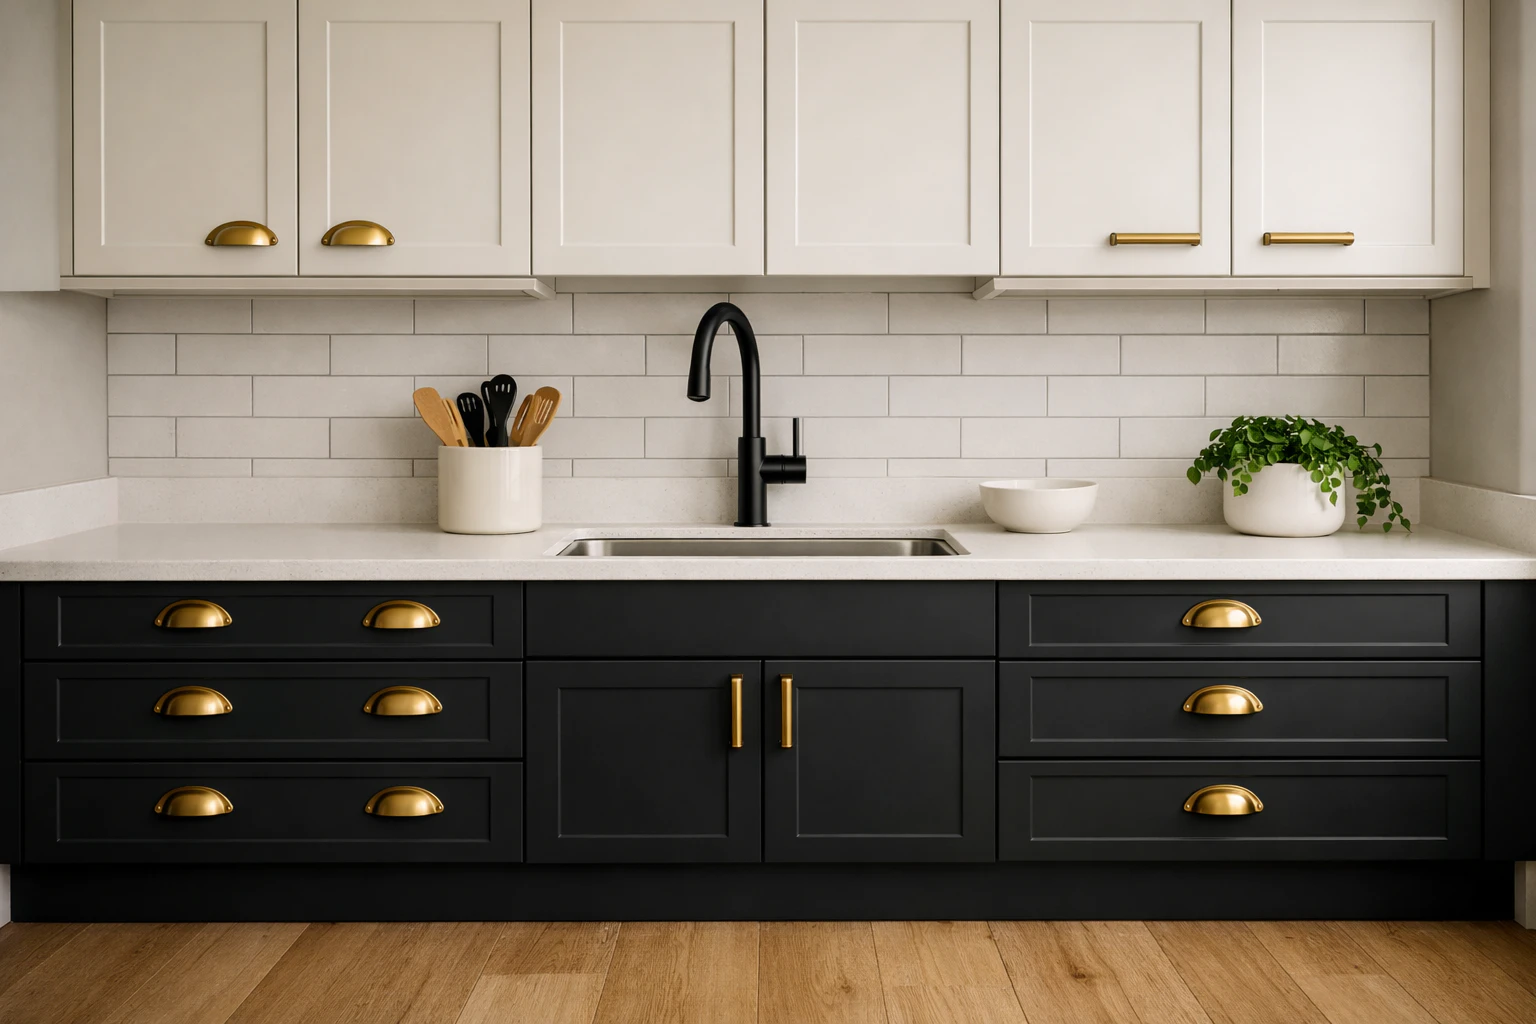
- Dark cabinets (matte black, deep sage, navy — whether painted or wrapped)
- Matte black or brushed brass hardware
- Consistent style — all cup-pulls OR all bar-pulls, not mixed
Amazon's bulk packs (Amerock, Ravinte, RAVINTE) deliver decent finish quality at $1.50–3 per piece. A 25-pull pack runs $40–60 for a typical kitchen. Skip the cheapest packs under $1.20 each — the finish wears off in months.
The short verdict
Pick contact paper if you rent, your budget is under $60, or you'll genuinely redo the kitchen again in 3 years. Pick paint if you own, you cook on the stovetop daily, or you want the finish to last 5–7 years and add modest resale value. The deciding factor is almost always ownership length — if you're not staying past year 3, paint's longer lifespan is wasted; if you are, contact paper will fail before you'd be ready to redo anyway.
Whichever you pick, do not skip the degreasing step, and budget the $30–80 for new hardware. Those two universal moves separate a "looks like real renovation" project from a "looks like rental hack" project.
Comparing more cabinet options? The full kitchen cabinet guide also covers chalk paint and cabinet refacing kits — useful if you want a fancier finish than wrap but less commitment than the Rust-Oleum bonded paint.
 Full kitchen cabinet guide
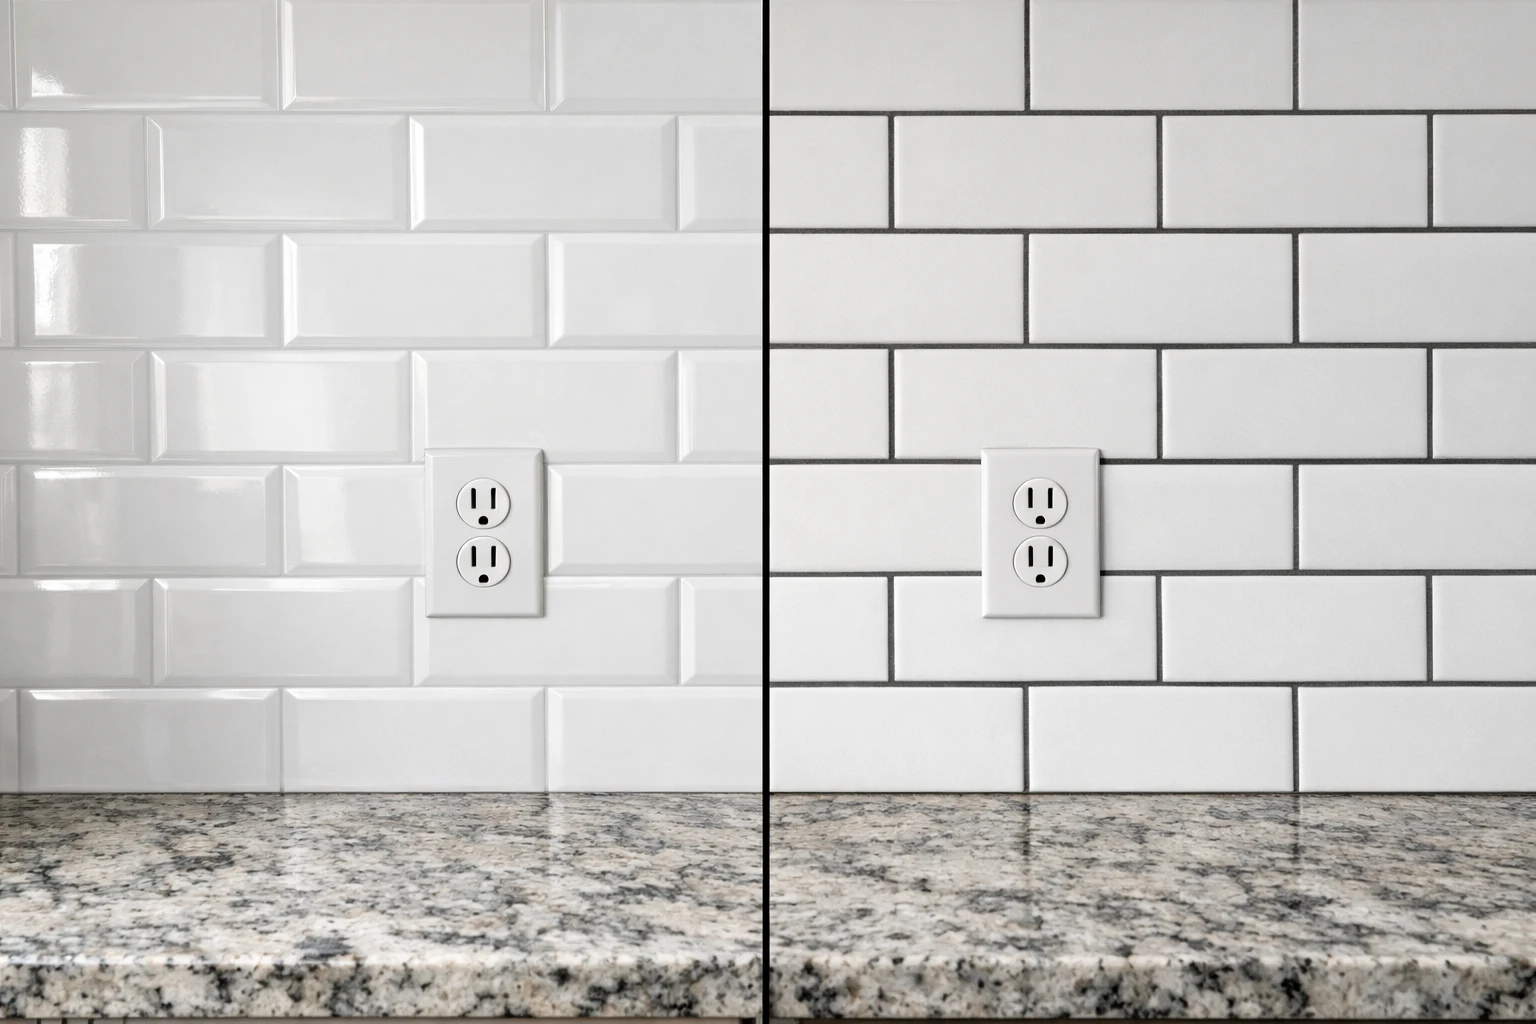 Kitchen Backsplash: Peel & Stick vs Real Tile
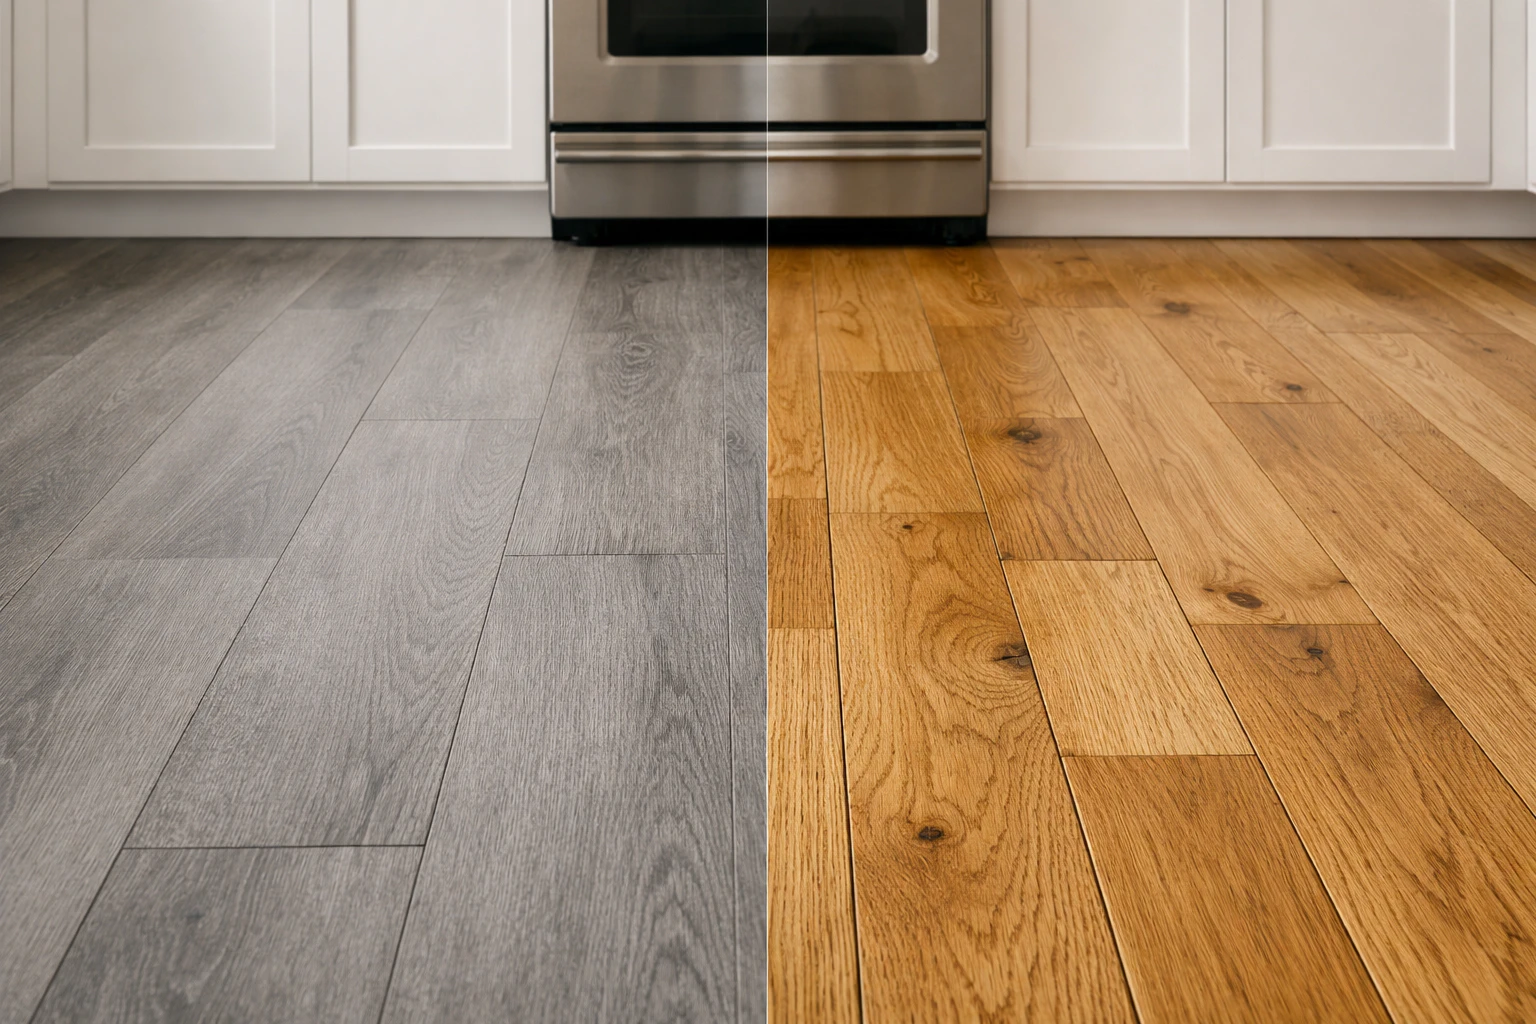 Kitchen Floor: Vinyl Plank vs Hardwood
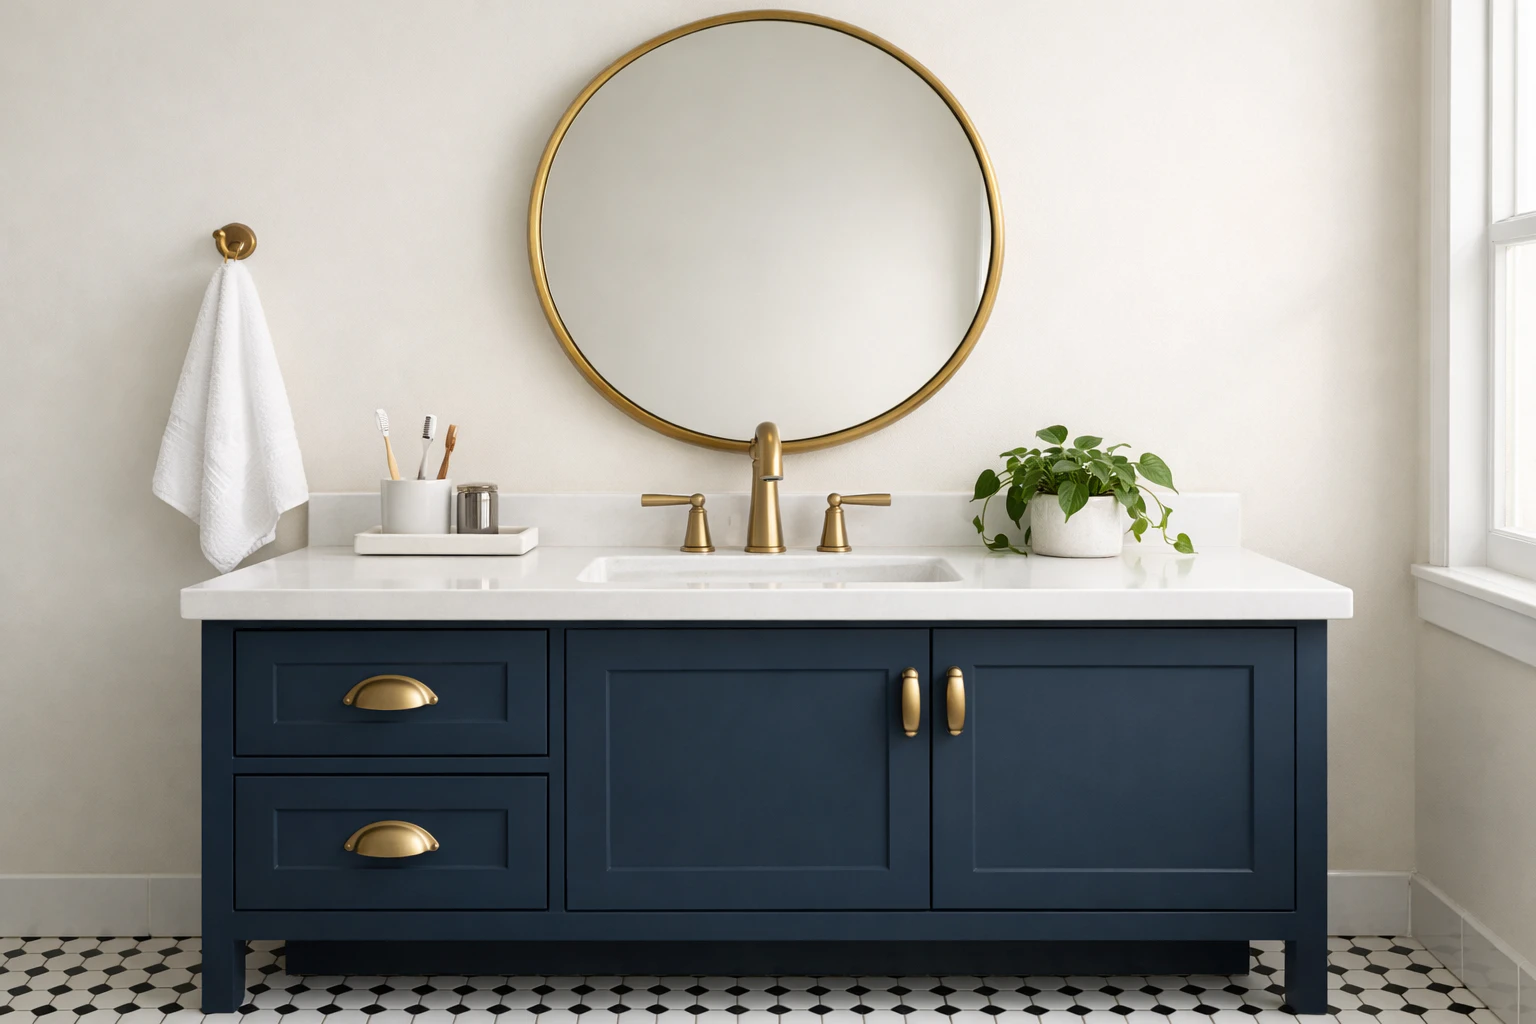 Bathroom Cabinets