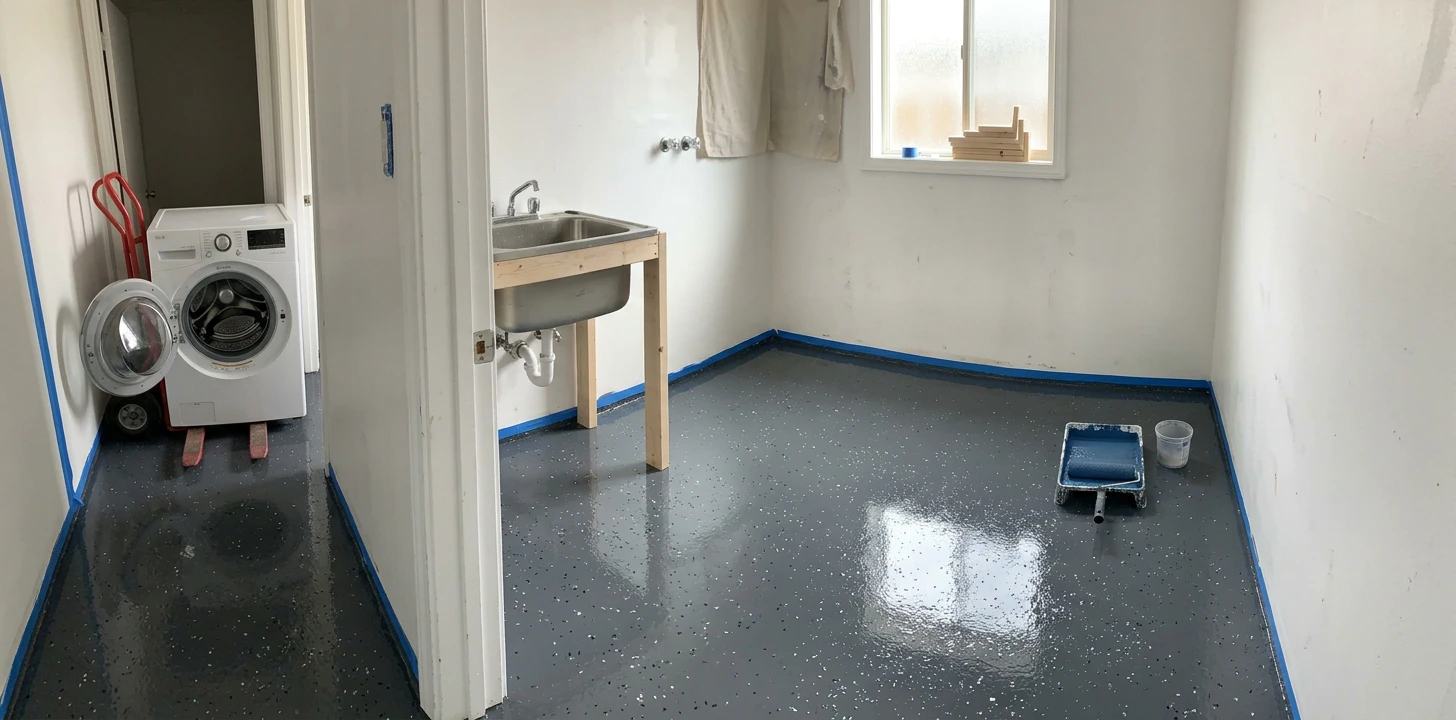
Updated July 2026. Prices reflect US market kit costs from Home Depot, Lowe's and Amazon for a typical 50 sq ft laundry room. Prep and cure guidance cross-referenced against Rust-Oleum, Behr and Citadel application instructions — the same coating chemistry we cover for garages, applied to a smaller, wetter room.
Why the laundry room is epoxy's natural habitat
Epoxy floor coatings built their reputation in garages, so most guides treat the laundry room as an afterthought. Look at what the room actually does, though, and it's arguably a better match than the garage ever was. A laundry room is the one living-space room that routinely gets standing water — overflows, hose drips, condensation puddles under the machines. It gets weekly chemical exposure — detergent, bleach, softener — that stains or degrades most floors over years. And it hosts a machine that shakes at over a thousand RPM several times a week.
Epoxy answers each of those directly: it cures into one continuous surface bonded to the slab, with no seams, joints or perimeter gaps for water to find; the cured film is resistant to household laundry chemicals at normal concentrations; and a coating that's molecularly bonded to concrete can't creep, shift or open gaps no matter how hard the spin cycle shakes. Add the fact that the room is tiny — a single $60-90 kit covers it twice over — and the laundry room turns out to be the cheapest place in the house to get epoxy's full benefits.
This guide covers the "should you" honestly, then the full install. If you're still weighing epoxy against vinyl plank, start with our LVP vs epoxy head-to-head — this page assumes epoxy is winning and you want to do it right.
The two filters — substrate and ownership
Two questions disqualify the project before any technique matters:
- Is the floor a concrete slab? Epoxy bonds only to concrete. On a wood subfloor — most second-floor laundries, manufactured homes, additions over crawl spaces — the film flexes with the floor and hairline-cracks within months. The 30-second test: walk the room with normal weight; any audible or felt flex means wood, and epoxy is out (see the FAQ for the wood-subfloor alternative). Rock-solid with no give means slab, and you're in business.
- Do you own the place? Epoxy is a permanent coating — there's no renter version and no undo short of grinding. Renters wanting the wipe-clean look should put a large waterproof utility mat under the machines and keep the deposit.
The honest trade-offs
Three real ones, none fatal, all worth knowing on the front end:
- It stays slab-cold. Epoxy is a paint-thin film over concrete that runs 55-62°F year-round in unheated spaces — your feet feel the slab directly. The fix costs $40-60: an anti-fatigue mat in the one spot you actually stand.
- Smooth epoxy is slippery wet — in the wettest room upstairs of the garage. Anti-slip flakes or grit in the final coat are mandatory, not decorative. Details in the install steps below.
- Fumes in a small interior room. A laundry room ventilates worse than a garage with the door up. Choose a low-VOC or water-based kit, open every window and door you have, run a fan exhausting outward, and wear an organic-vapor respirator while rolling — a dust mask does nothing against solvent vapor.
Picking the kit (and the DIY-vs-pro call)
The product landscape is the same one we rank in the 11 Best Garage Floor Coatings roundup — every kit there works on a laundry slab. The short version for this room:
- Standard 2-part epoxy (Rust-Oleum EpoxyShield and peers, $60-90): the budget default. The catch in a laundry room is cure time — plan ~72 hours before machines return.
- Polyurea / polyaspartic kits ($150-250): cost more but cure fast — machines back in 24-48 hours, and the chemistry is more flexible and chemical-tolerant. Worth it if days without laundry is a real household problem.
- Water-based / low-VOC lines: the right call for an interior room regardless of chemistry — check the can for VOC class, not just the brand.
DIY or pro? This is one of the friendliest DIY coating projects there is: a small rectangle, no vehicle traffic, no expansion joints, one kit. If you can paint a wall, the only genuinely new skills are the moisture test and respecting the pot life. A pro coating crew's minimum call-out usually exceeds the entire DIY materials bill several times over — this room is where you keep that money.
The install weekend, step by step
- Empty the room completely. Washer and dryer out — a hand truck and a helper, water and drain lines disconnected, machines parked somewhere for 2-3 days. This is the step people underestimate; do it Friday evening.
- Run the moisture test first, not last. Tape a 2×2 ft square of clear plastic to the slab, all four edges sealed, and leave it 24 hours. Condensation or darkened concrete underneath means the slab is releasing vapor — and any coating applied over it will blister off. A damp slab needs the moisture problem solved first; a borderline one wants a moisture-tolerant primer system. This single free test is the difference between a 15-year floor and a one-year do-over — it's mistake #1 in our epoxy mistakes guide for a reason.
- Degrease, then etch. Laundry slabs wear an invisible film of spilled detergent and softener — scrub with a degreaser and rinse before anything else. Then etch per the kit's instructions (citric or muriatic-based etcher) until the dried surface feels like fine sandpaper. Vacuum thoroughly.
- Check your weather window. Same rules as any coating: 50-85°F at the slab, humidity under ~80%, and a stable forecast through the cure. A basement laundry is naturally stable; a garage-adjacent one in a heat wave is not.
- Cut in and roll, thin. Brush the edges and around the drain, then roll the field in thin passes. A 50 sq ft room is 30-40 minutes of rolling — the mixed kit's pot life (30-45 minutes) is enough if you start rolling right after mixing, and nowhere near enough if you stop to answer the phone.
- Broadcast the anti-slip layer. Scatter the included flakes into the wet color coat, or stir grit additive into the clear coat. A laundry floor gets wet; smooth gloss is a fall waiting for a laundry basket in both hands.
- Second coat after the inter-coat window (typically 24 hours) — then stay off the floor and let it cure fully.
Moving the machines back without ruining it
The last 10% of the project is where fresh floors get wrecked. Three rules:
- Wait for the heavy-load cure, not the walk-on cure. Walk-on at 24 hours ≠ ready for a 200 lb appliance. Standard epoxy wants ~72 hours before the machines return; rapid-cure chemistries 24-48. Check your kit's label for the "heavy furniture" figure and believe it.
- Roll, don't drag. Bring the machines back on a furniture dolly or hand truck and set them down — dragging metal feet across a young coating gouges tracks that are there forever.
- Land them on anti-vibration pads ($20 a set), level the feet, and reconnect with braided-steel supply hoses if the old rubber ones are still there — the hose is the most likely flood source, and braided steel is the cheap upgrade that outlasts them. Finish with the $25 leak detector on the new floor, and the room is more flood-proof than any other in the house.
Picking the actual kit? The 11 Best Garage Floor Coatings roundup → ranks the epoxy, polyurea and polyaspartic options by chemistry, cure time and price — including the basement/laundry section on moisture and low-VOC picks. Pair it with the 7 epoxy mistakes guide and this floor outlives the washer.
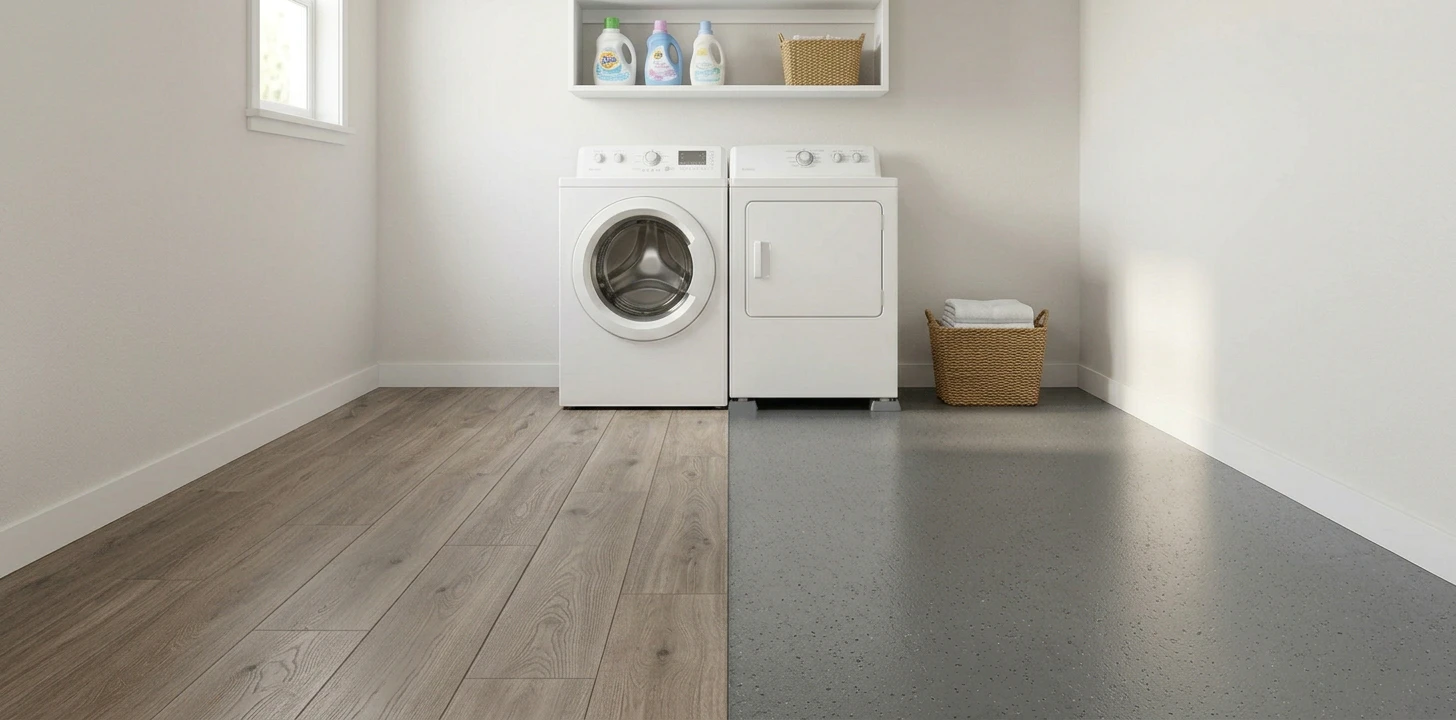 Laundry Floor: LVP vs Epoxy
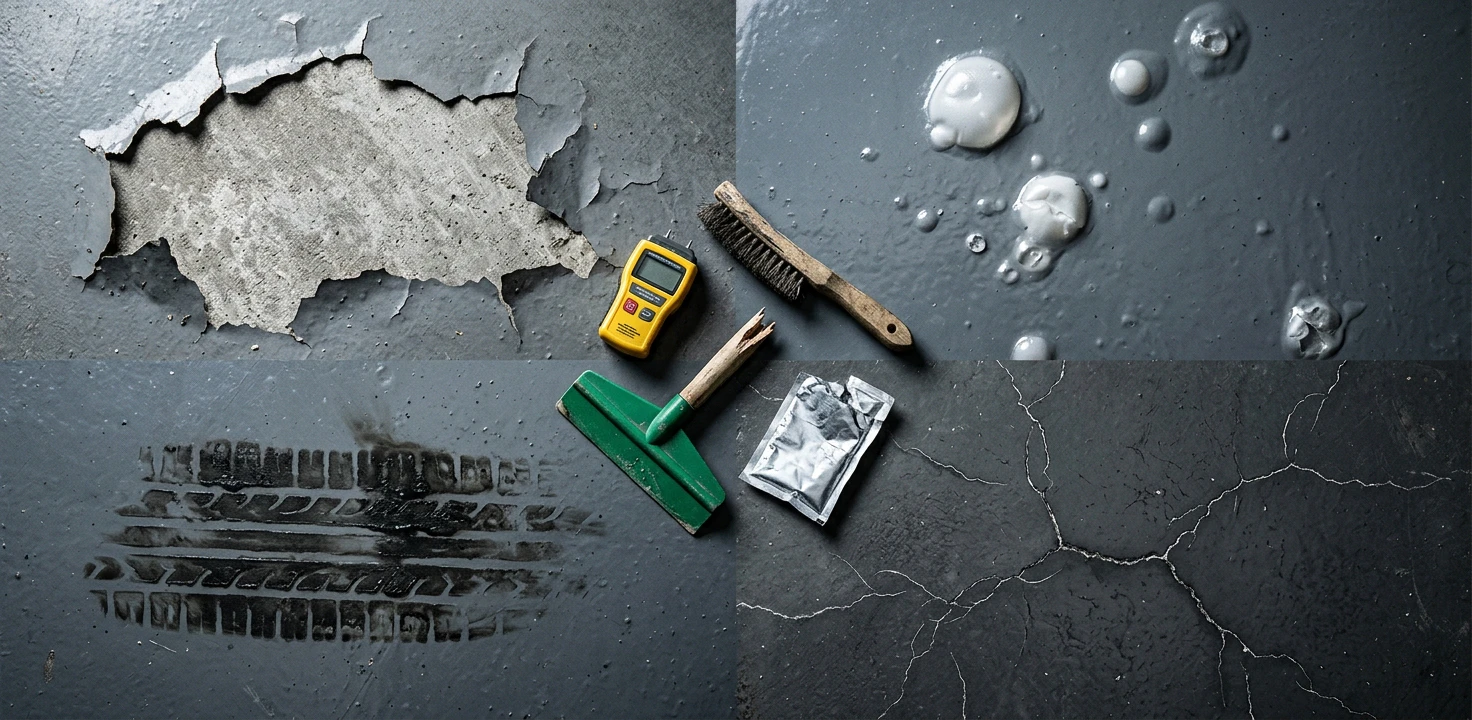 7 Garage Epoxy Mistakes That Make It Peel
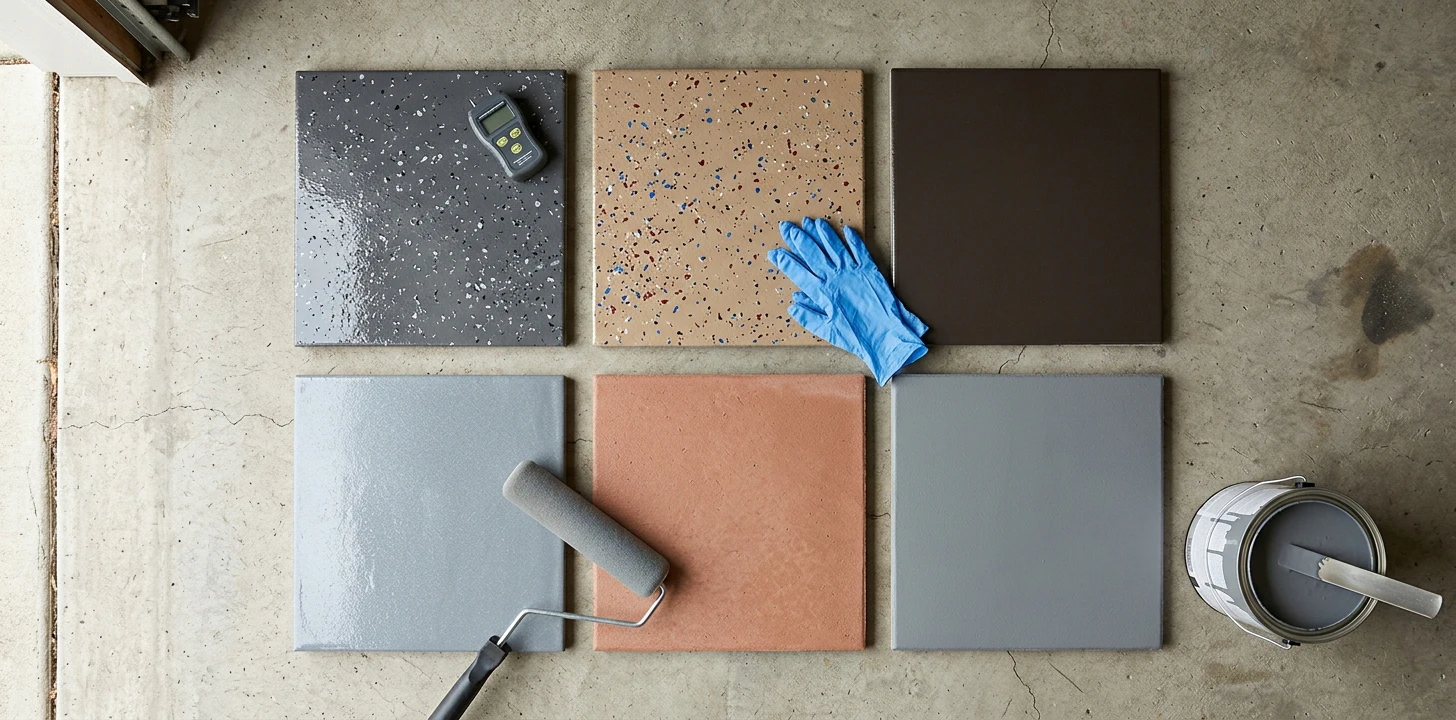 11 Best Garage Floor Coatings 2026
 Bathroom Floor: Epoxy vs Tile
 Full laundry room floor guide